Geometric Feature Wall
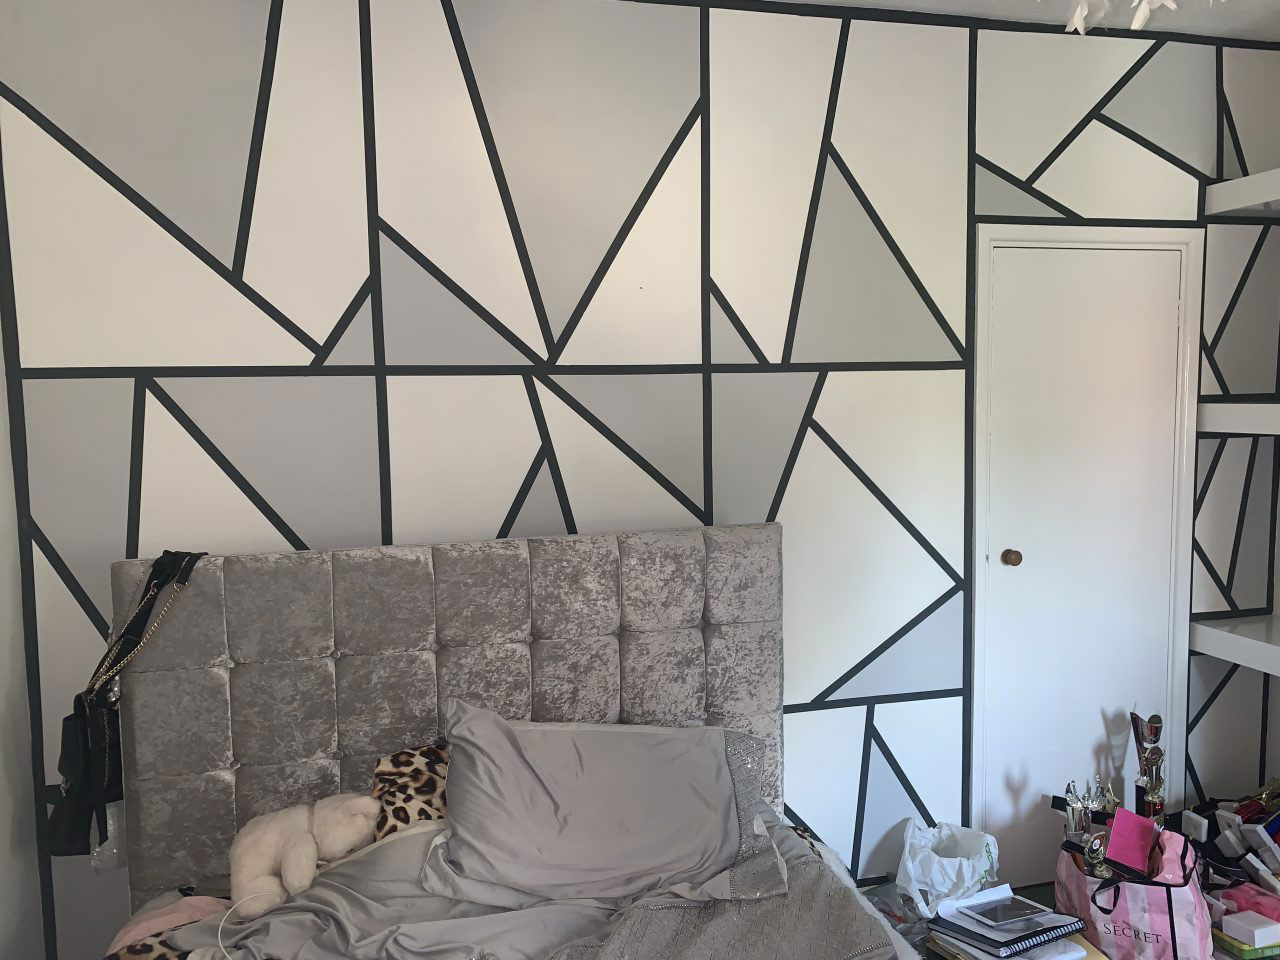
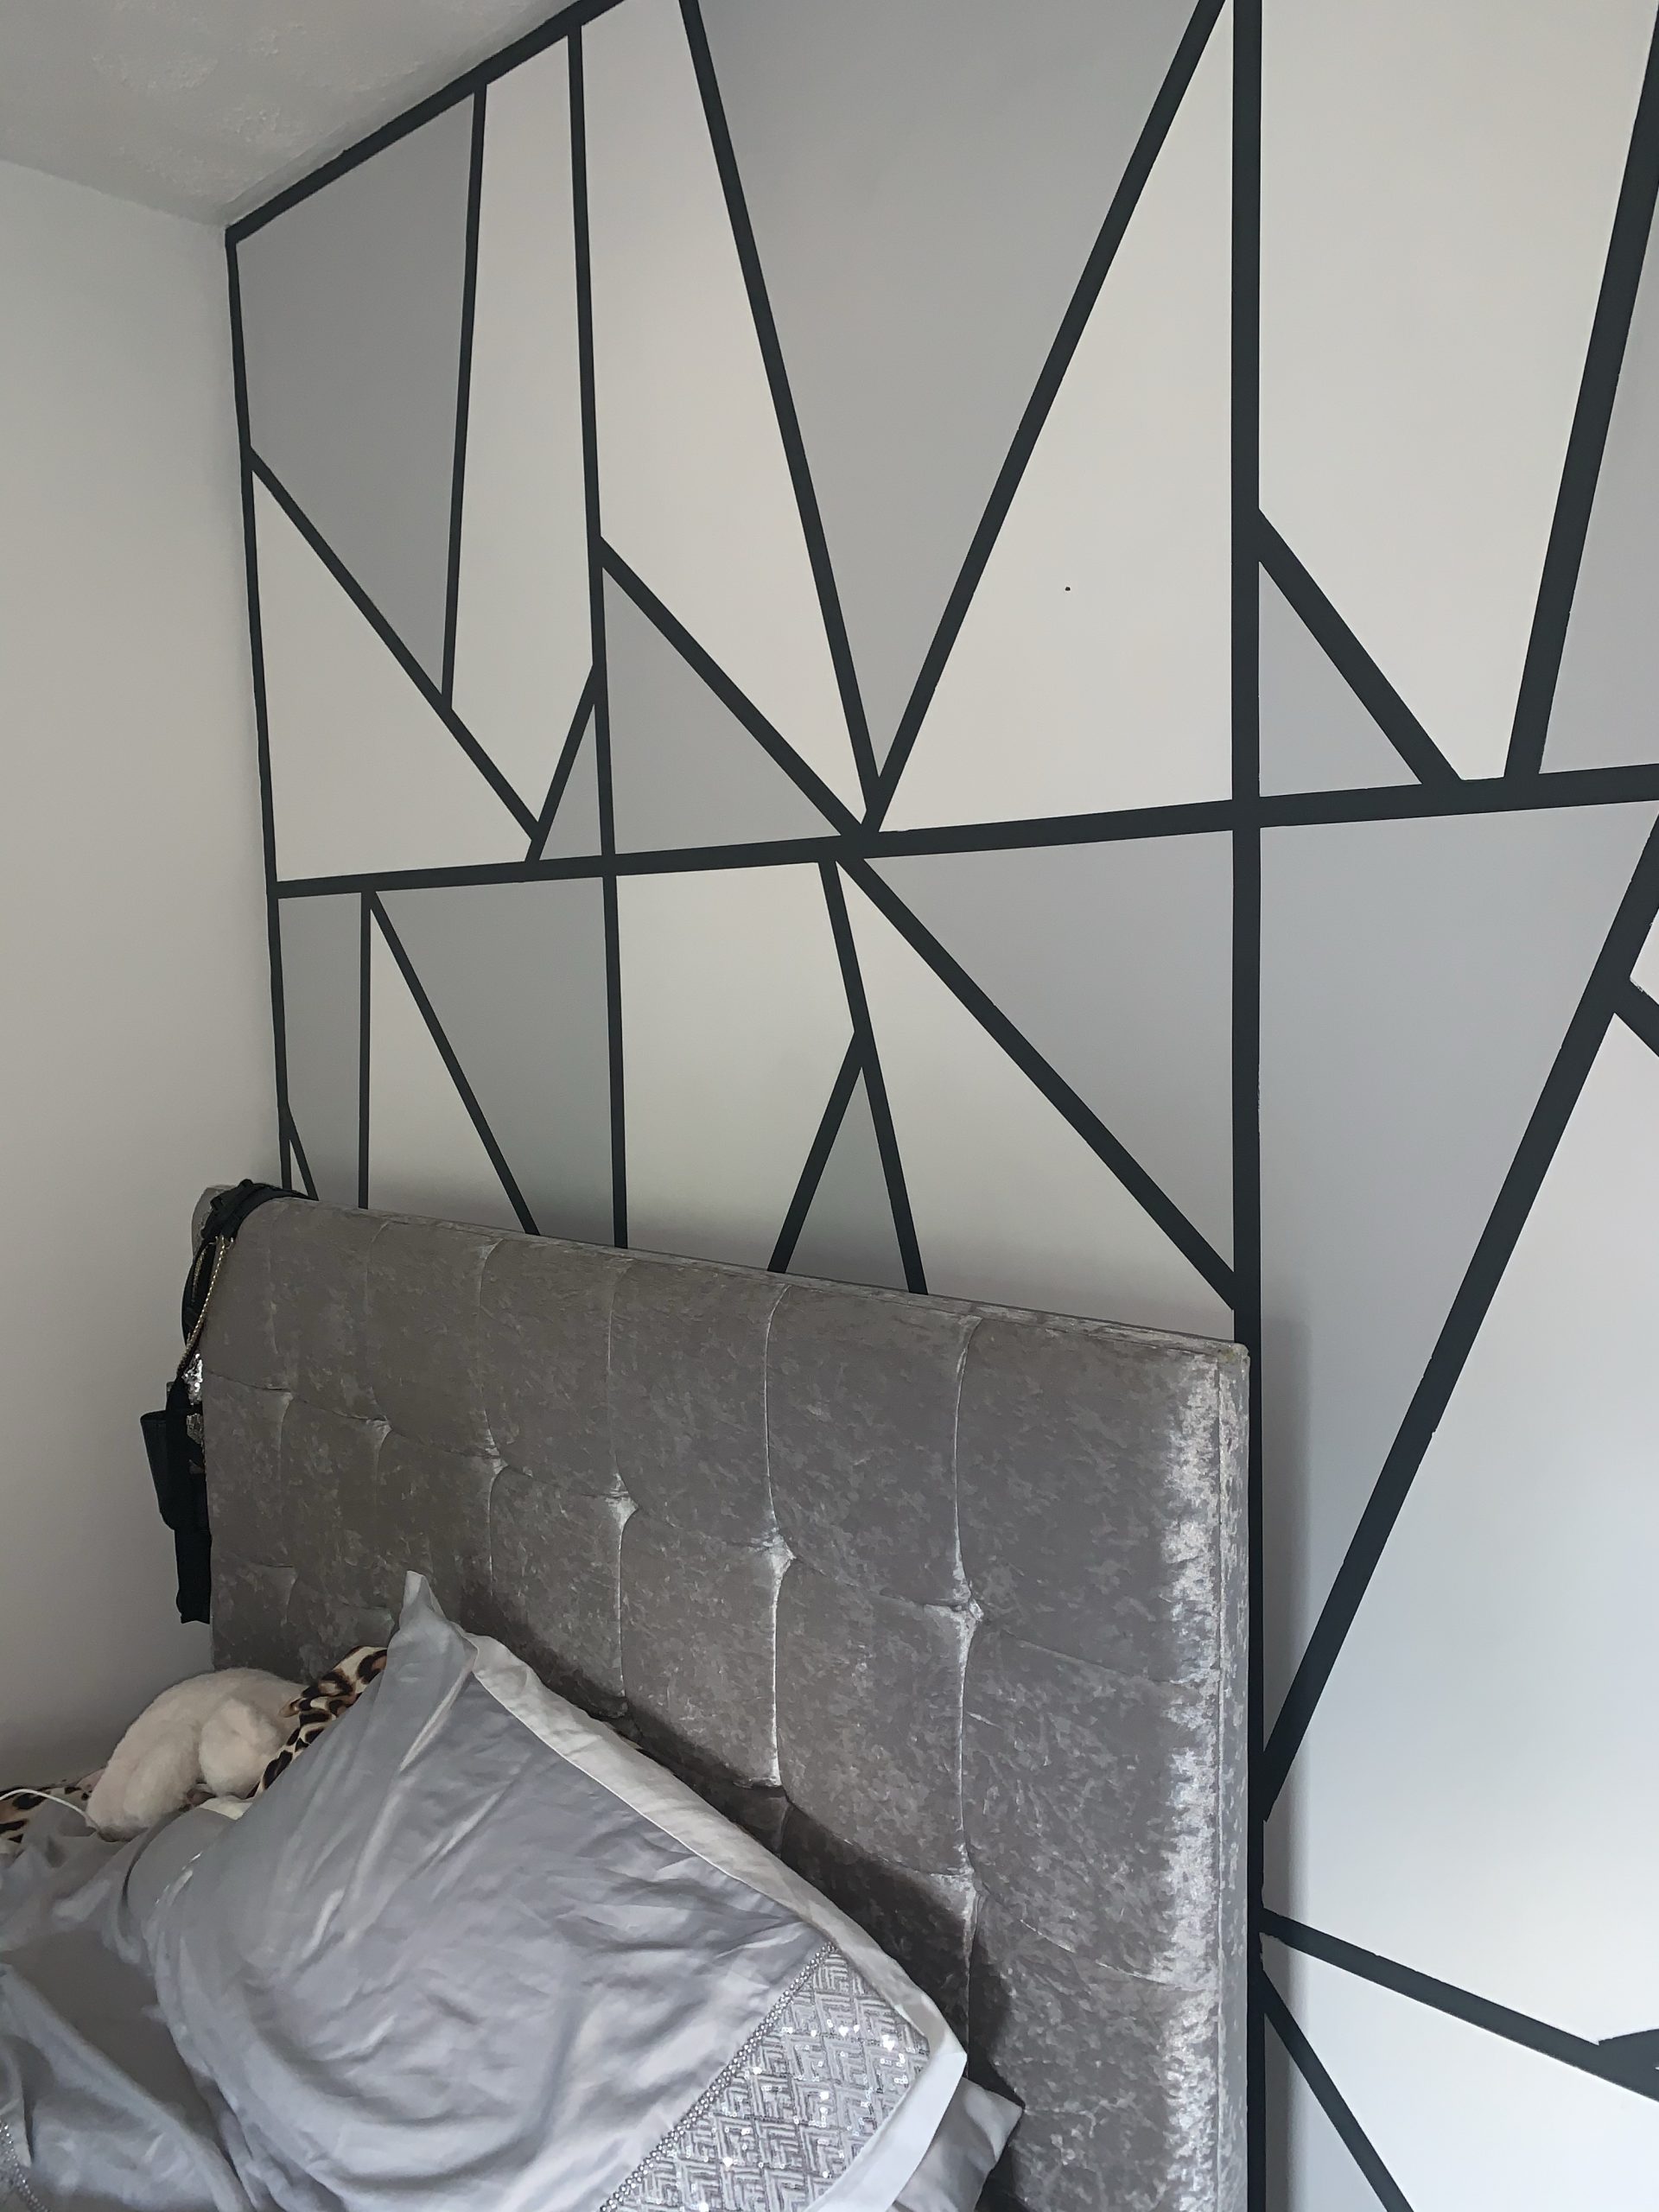
This geometric feature wall was created by my daughter during the UK lockdown, like many people during this period decorating projects became quite popular and ours was partly instigated by the fact that my three children all decided to swap bedrooms ! More feature wall ideas can be seen here.
Materials Used
Masking Tapes
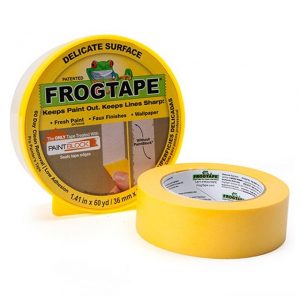
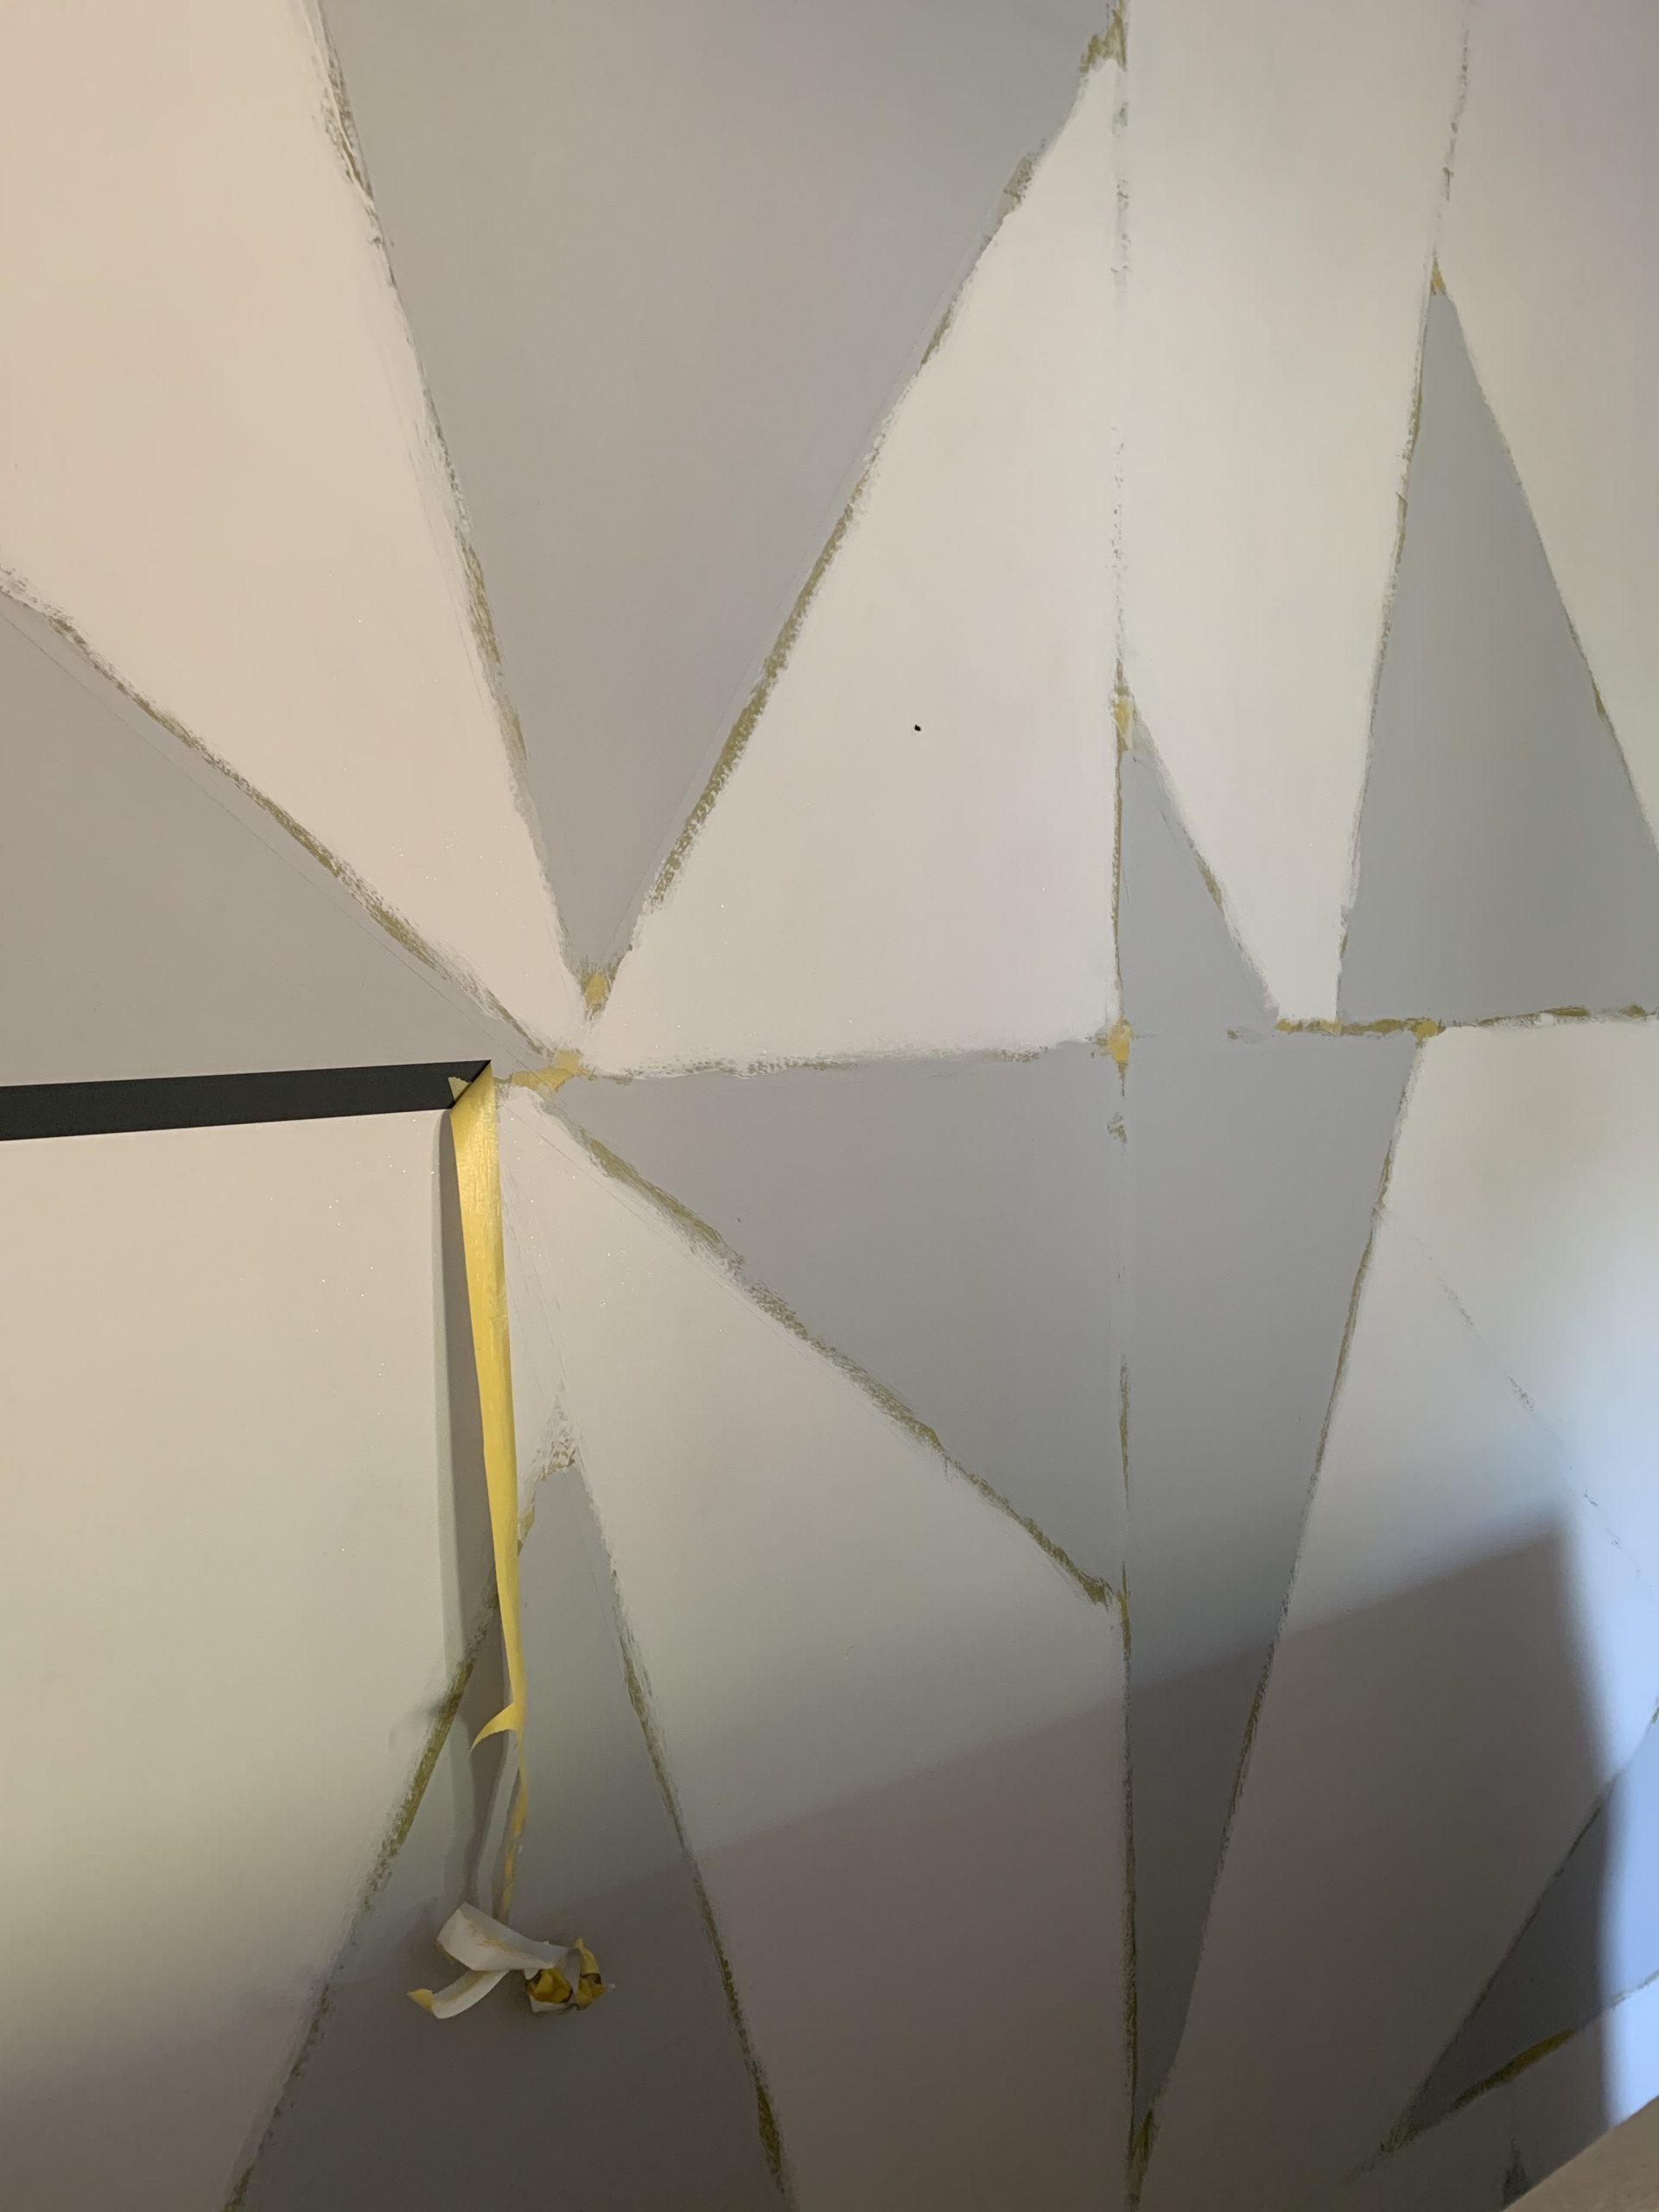
One of the most important considerations to make if attempting this project is to use the correct tape to mark out your design, the wrong tape can prove disastrous as when all is completed the last step is removing the tape.
For this project we used the yellow Frog Tape which is manufactured for use on delicate surfaces so is very low tack and keeps a nice clean edge enabling you to remove the tape without pulling away the paint underneath and revealing the crisp sharp geometric lines of your masterful design.
Using correct tape is essential
Procedure
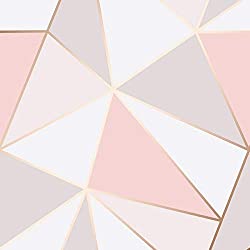
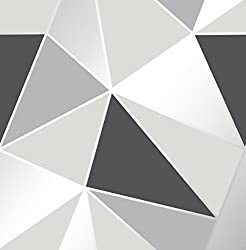
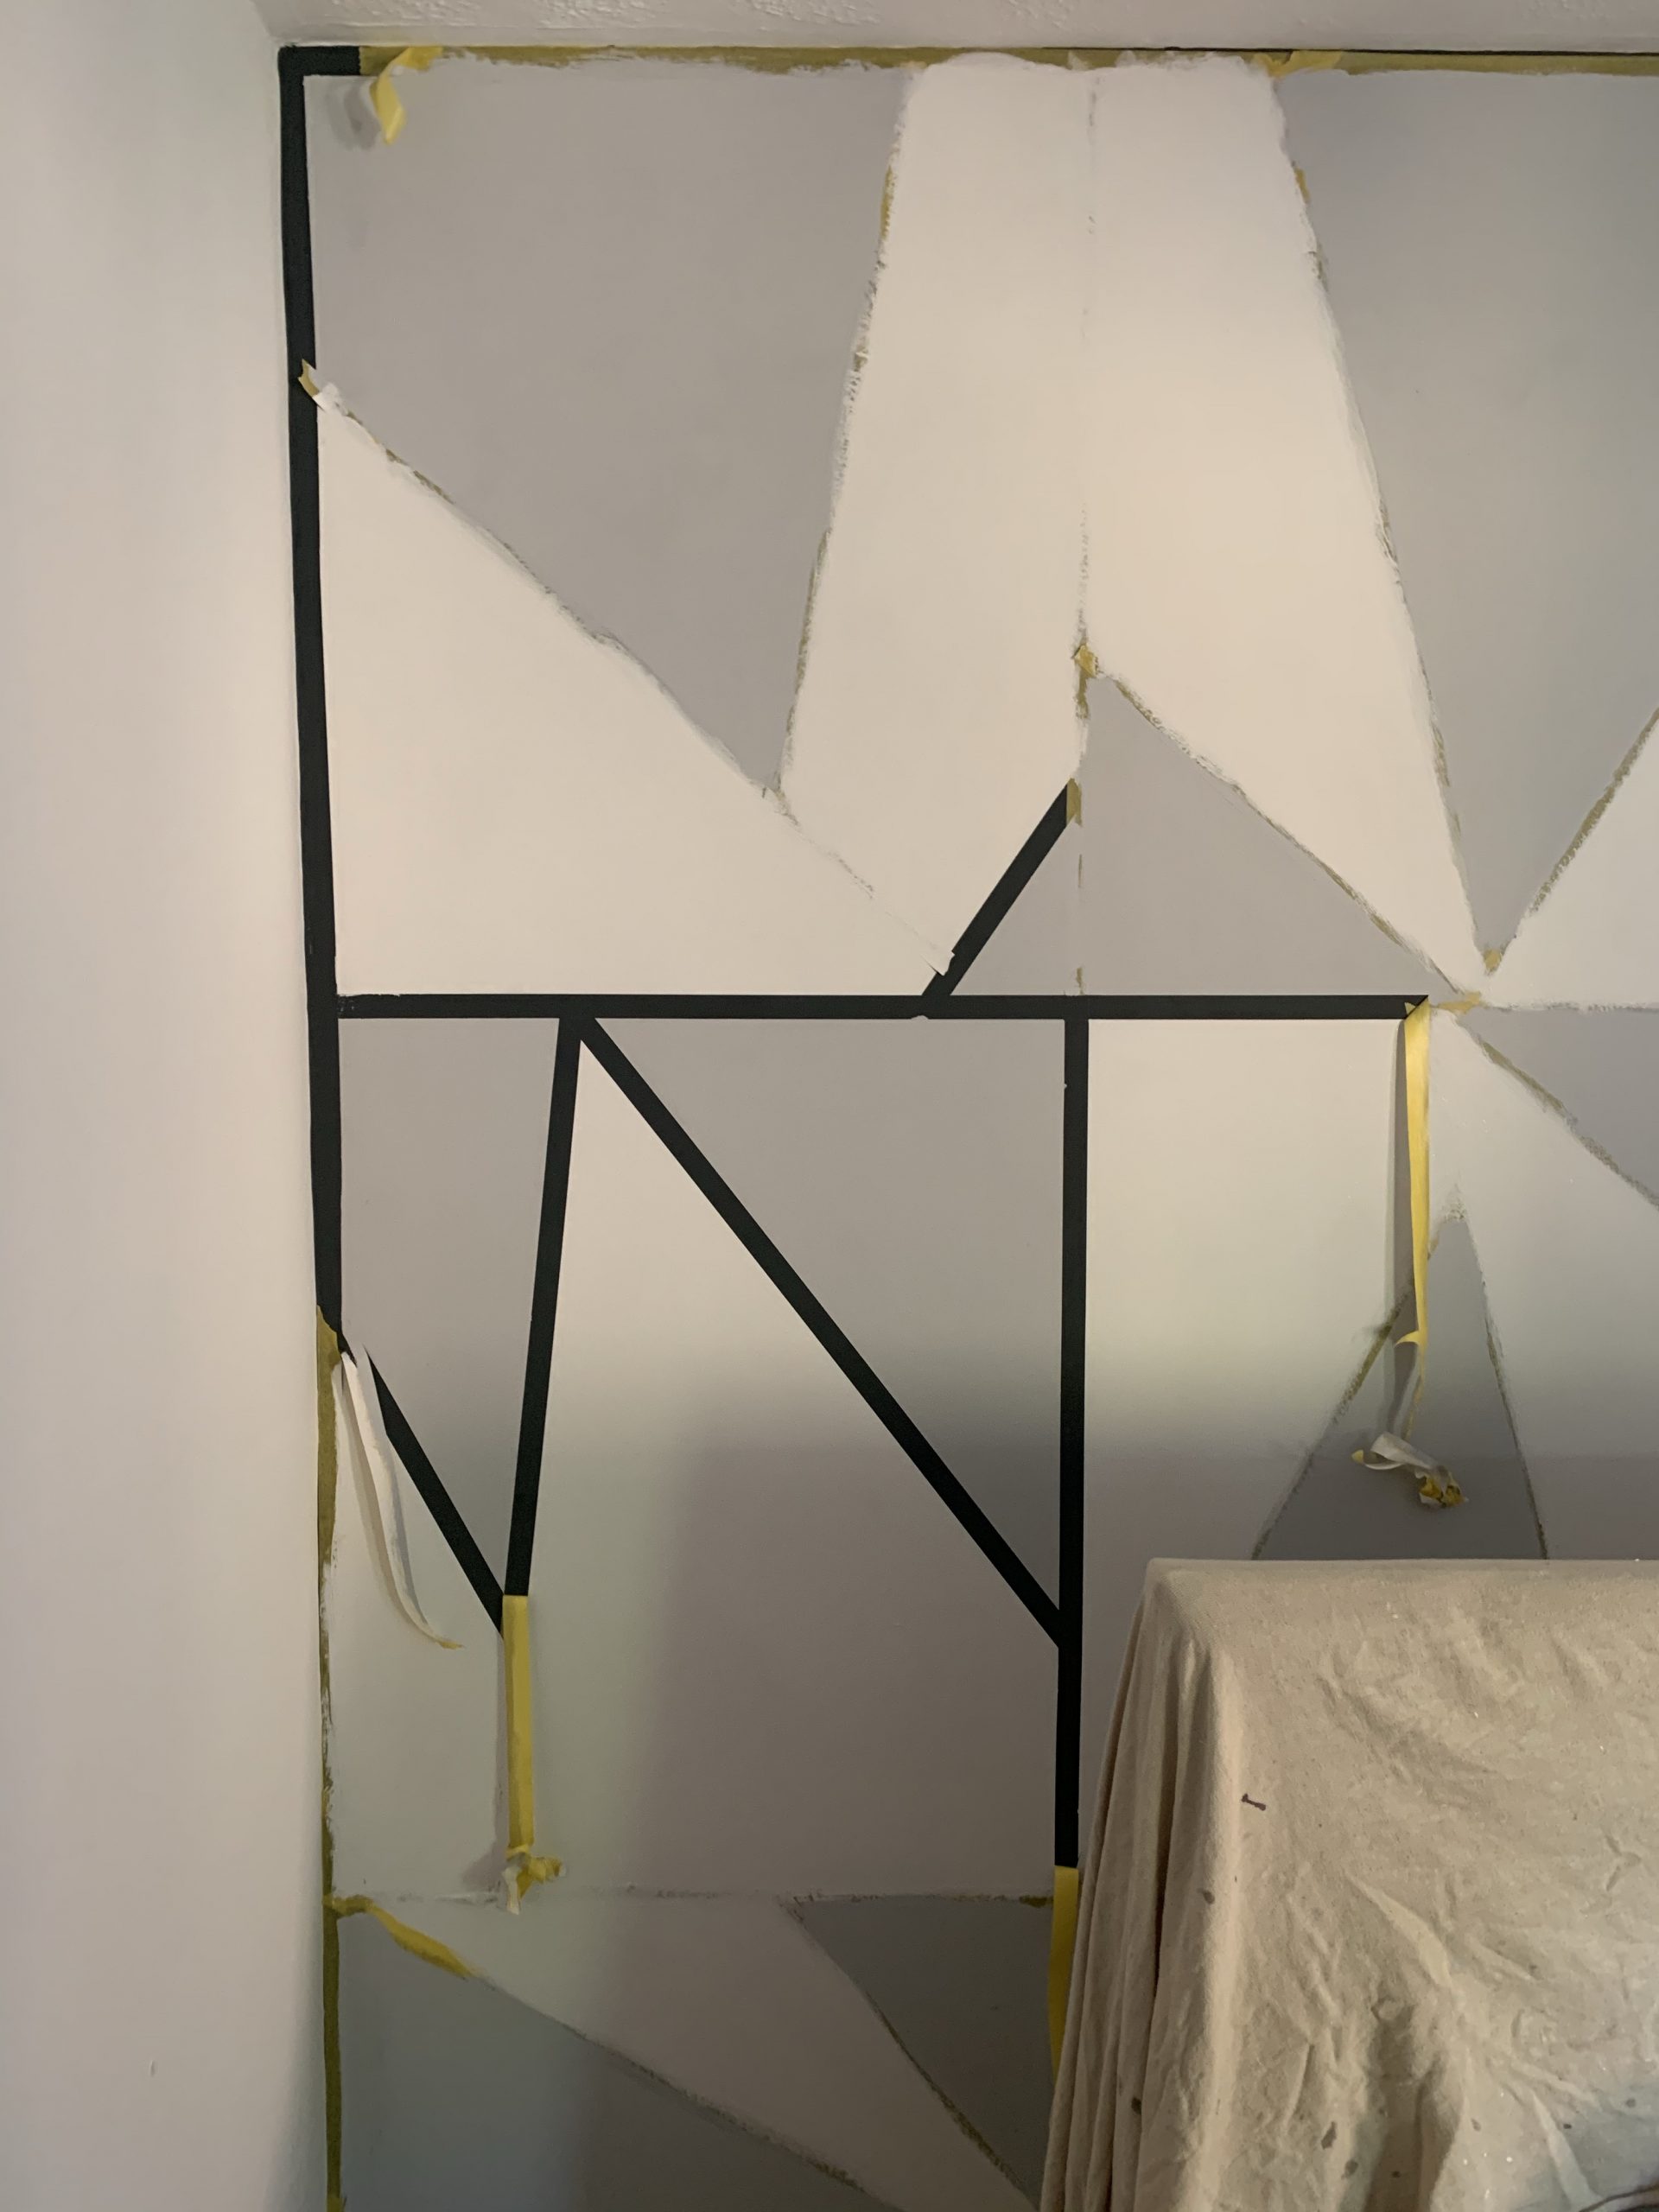
Think through your design and colours, this wall has three colours, white, light grey and dark grey , the dark grey was the original colour of the wall and was revealed when the tape was removed.
- Low tack tape
- Spirit level
- 2 Colours
- Dust sheets
- Glitter additive
Design
Design your pattern using a spirit level preferably one that can be aligned and set to different angles, lightly mark your design with pencil then apply the tape ensuring the edges are adequately stuck to prevent paint bleed under the tape. The next stage you can apply 2 coats of paint to one area of colour then when dry do the same to the other area of colour, in this feature wall Valspar Paint Glitter was added into the final coat of the white paint which adds a subtle shimmer.
Final Reveal
Now comes the good bit, removing the tape revealing your awesome design, if any paint has crept underneath the tape use a small brush to tidy these edges, just stand back and admire your handy work and congratulate yourself on a great job.

