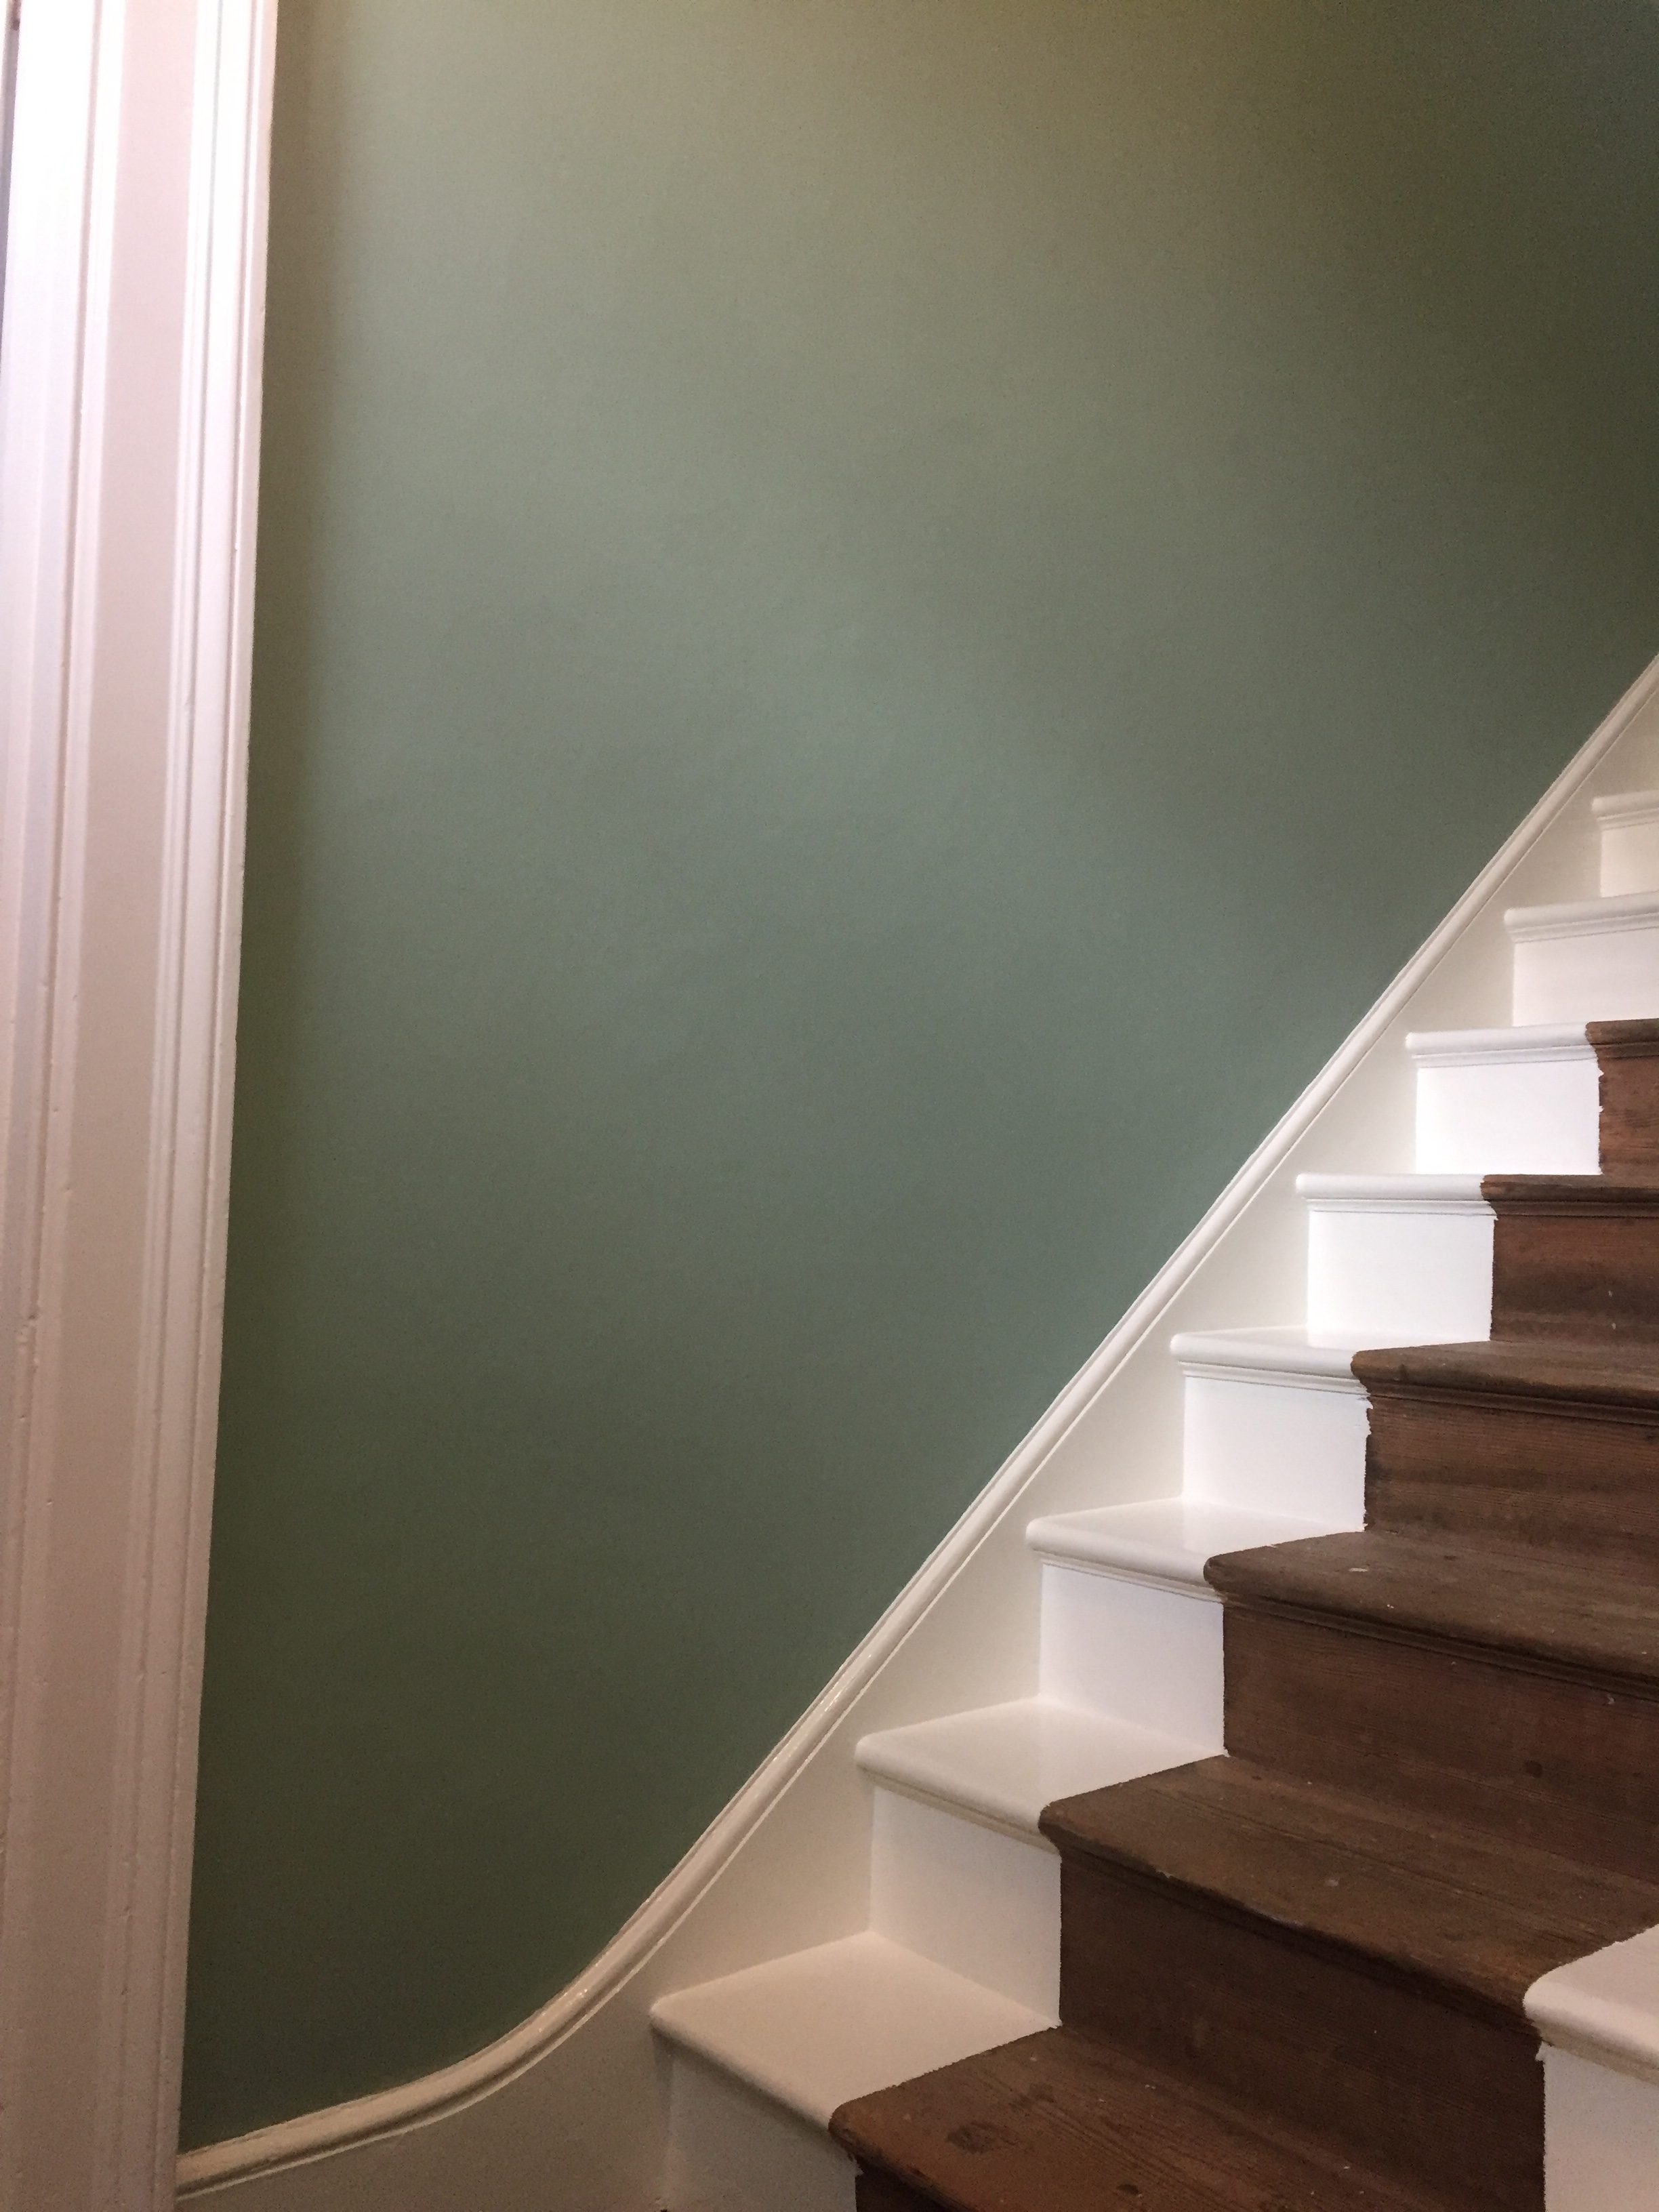
Period Hallway Re-decoration
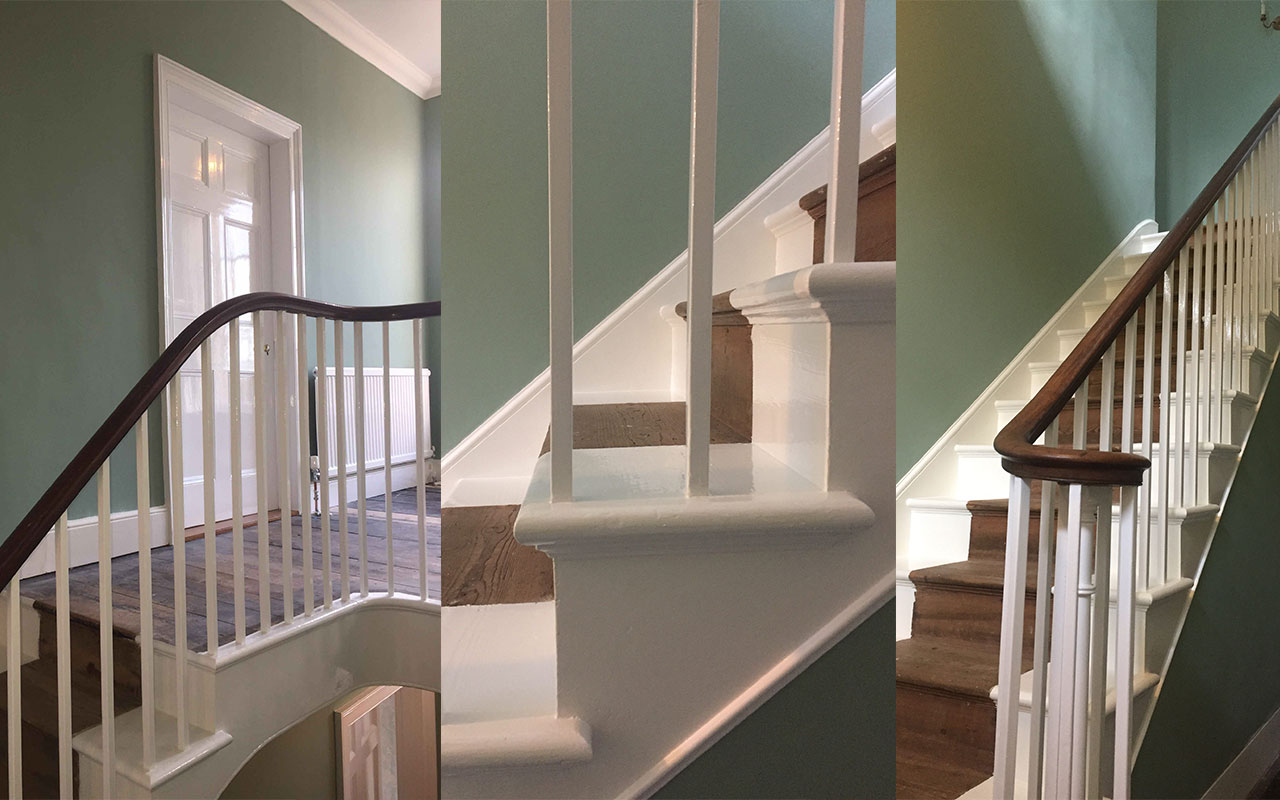
Painting and Decorating this Period Hallway involved some extensive preparation work to achieve the end result and ran over several weeks , below is a record of the progress from start to finish, it was a pleasure to work on such a beautiful house and many thanks to the owners, Steve and Margaret, who made the job even more of a pleasure.
Week 1
Like any good Painting and Decorating in the UK, this job started with being offered a nice mug of tea followed by a brief discussion outlining the procedure of work.
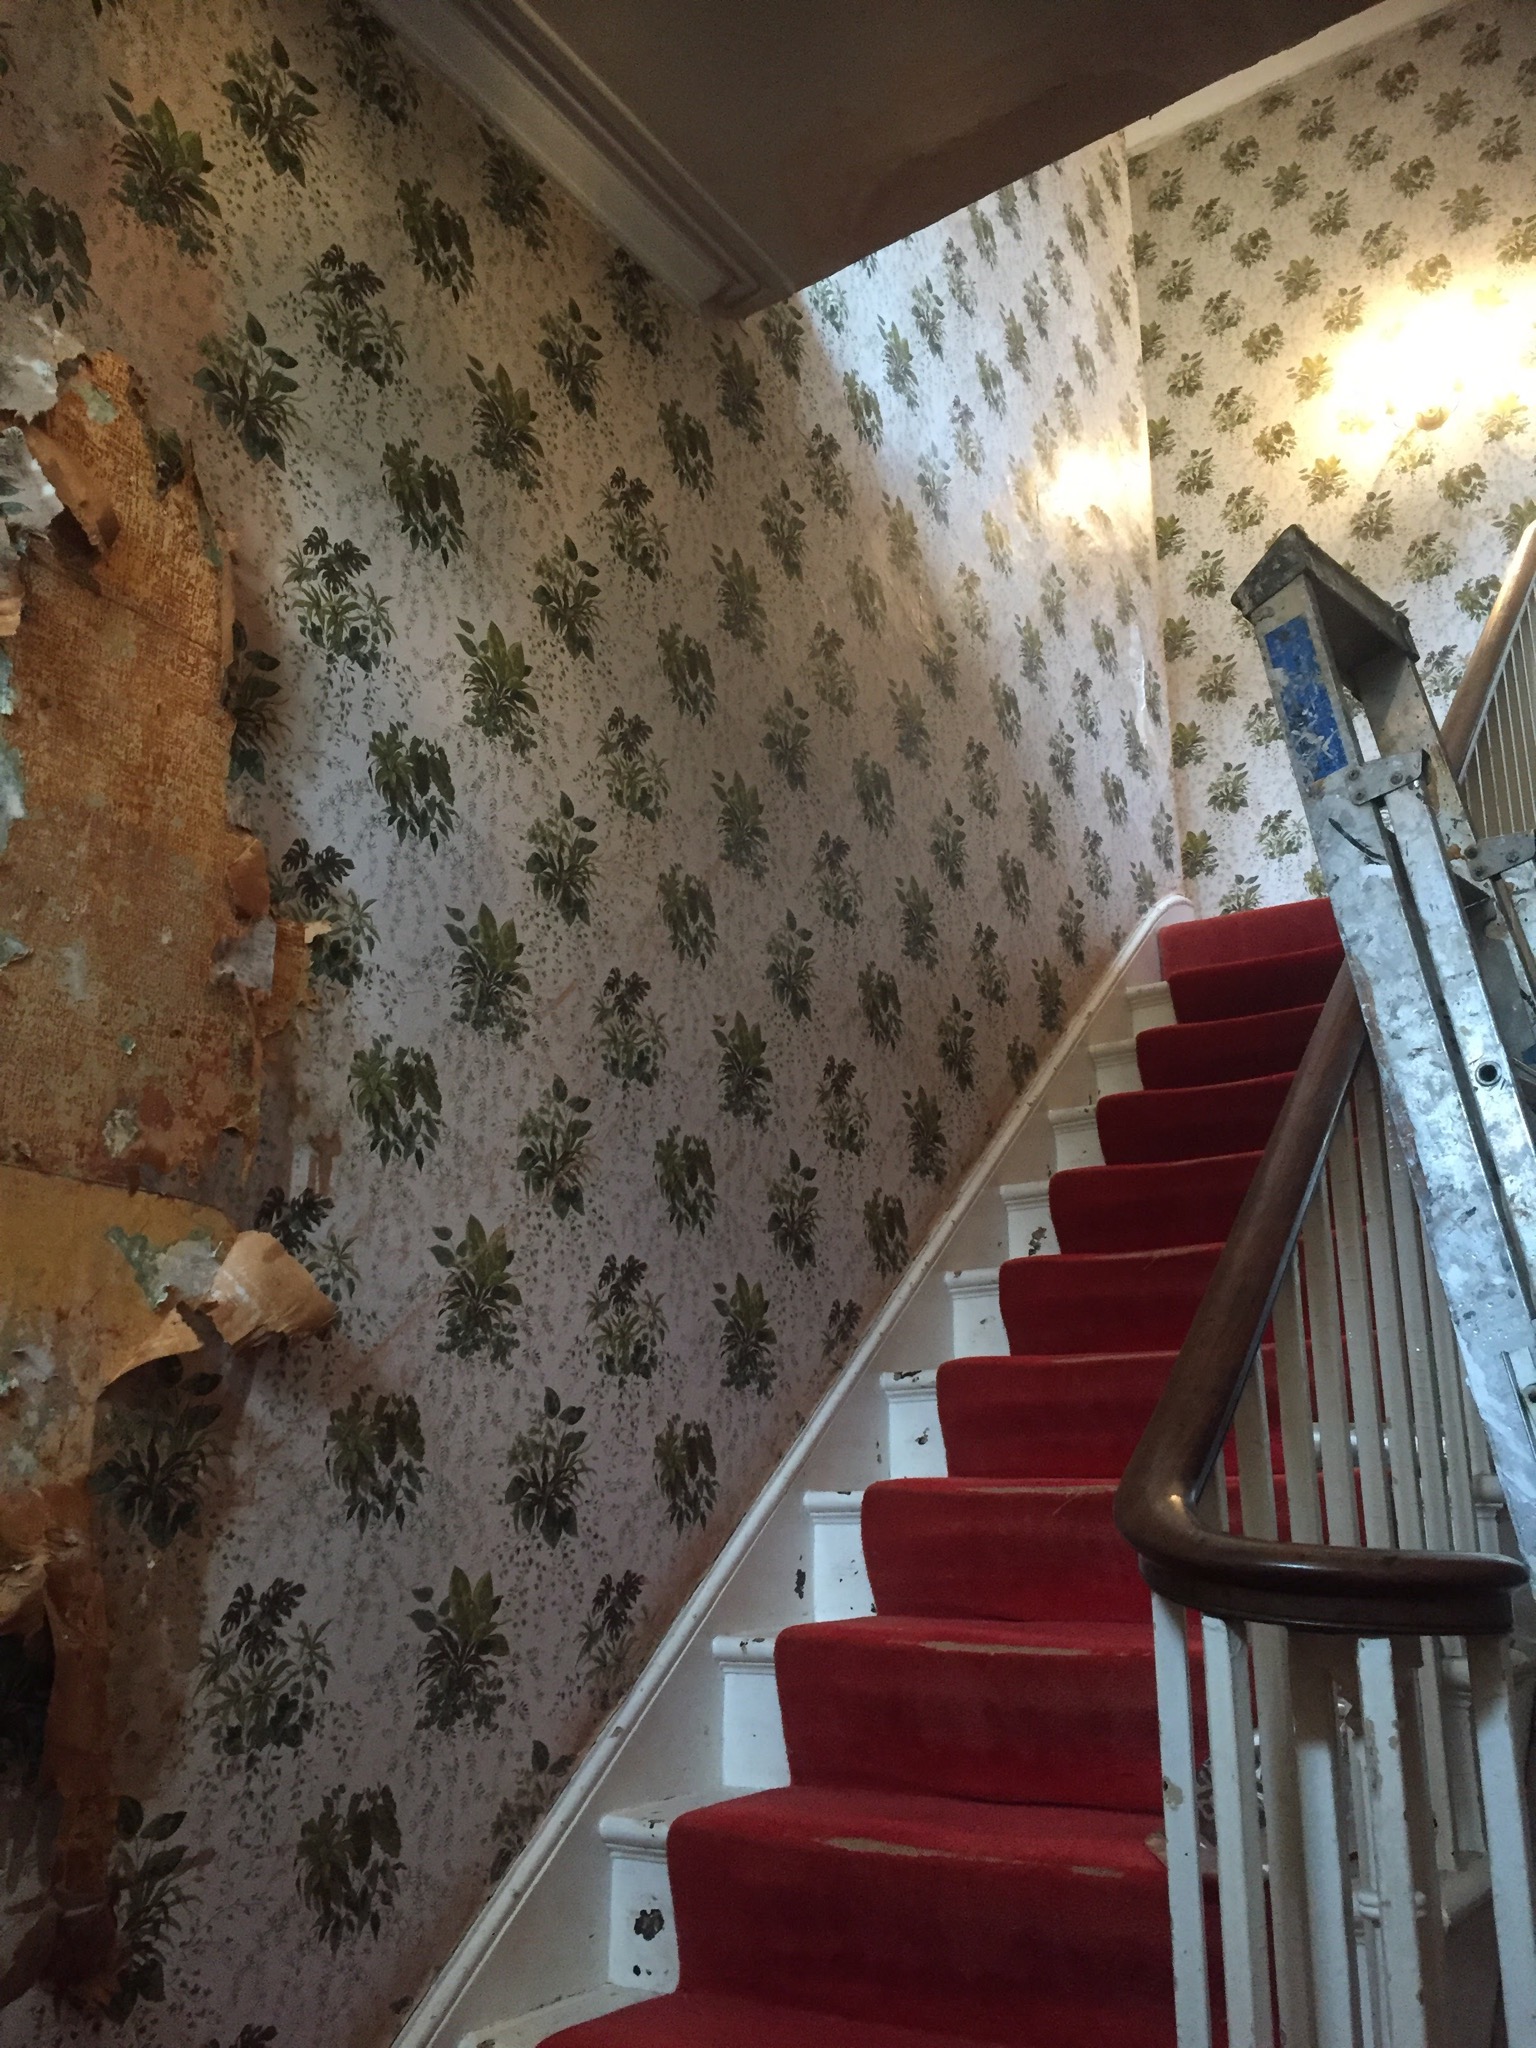
The first step was the removal of the old wallpaper which had been in place since the early 1940’s and having previously decorated this properties lounge earlier in the year, upon the removal of that wallpaper I found the name and date of the previous decorator which was dated May 23rd 1940 ! Decorating older properties often reveal interesting facts about the house and I hoped to discover the previous decorator of this Hallway.
Removal of the wallpaper proved to be a more difficult task than anticipated, a steam stripper was used and at the start revealed not 1 but 2 wallpapers to be stripped and in day 1 the progress was slow and day 2 carried on with the wallpaper stripping.


Week Two (History Uncovered)
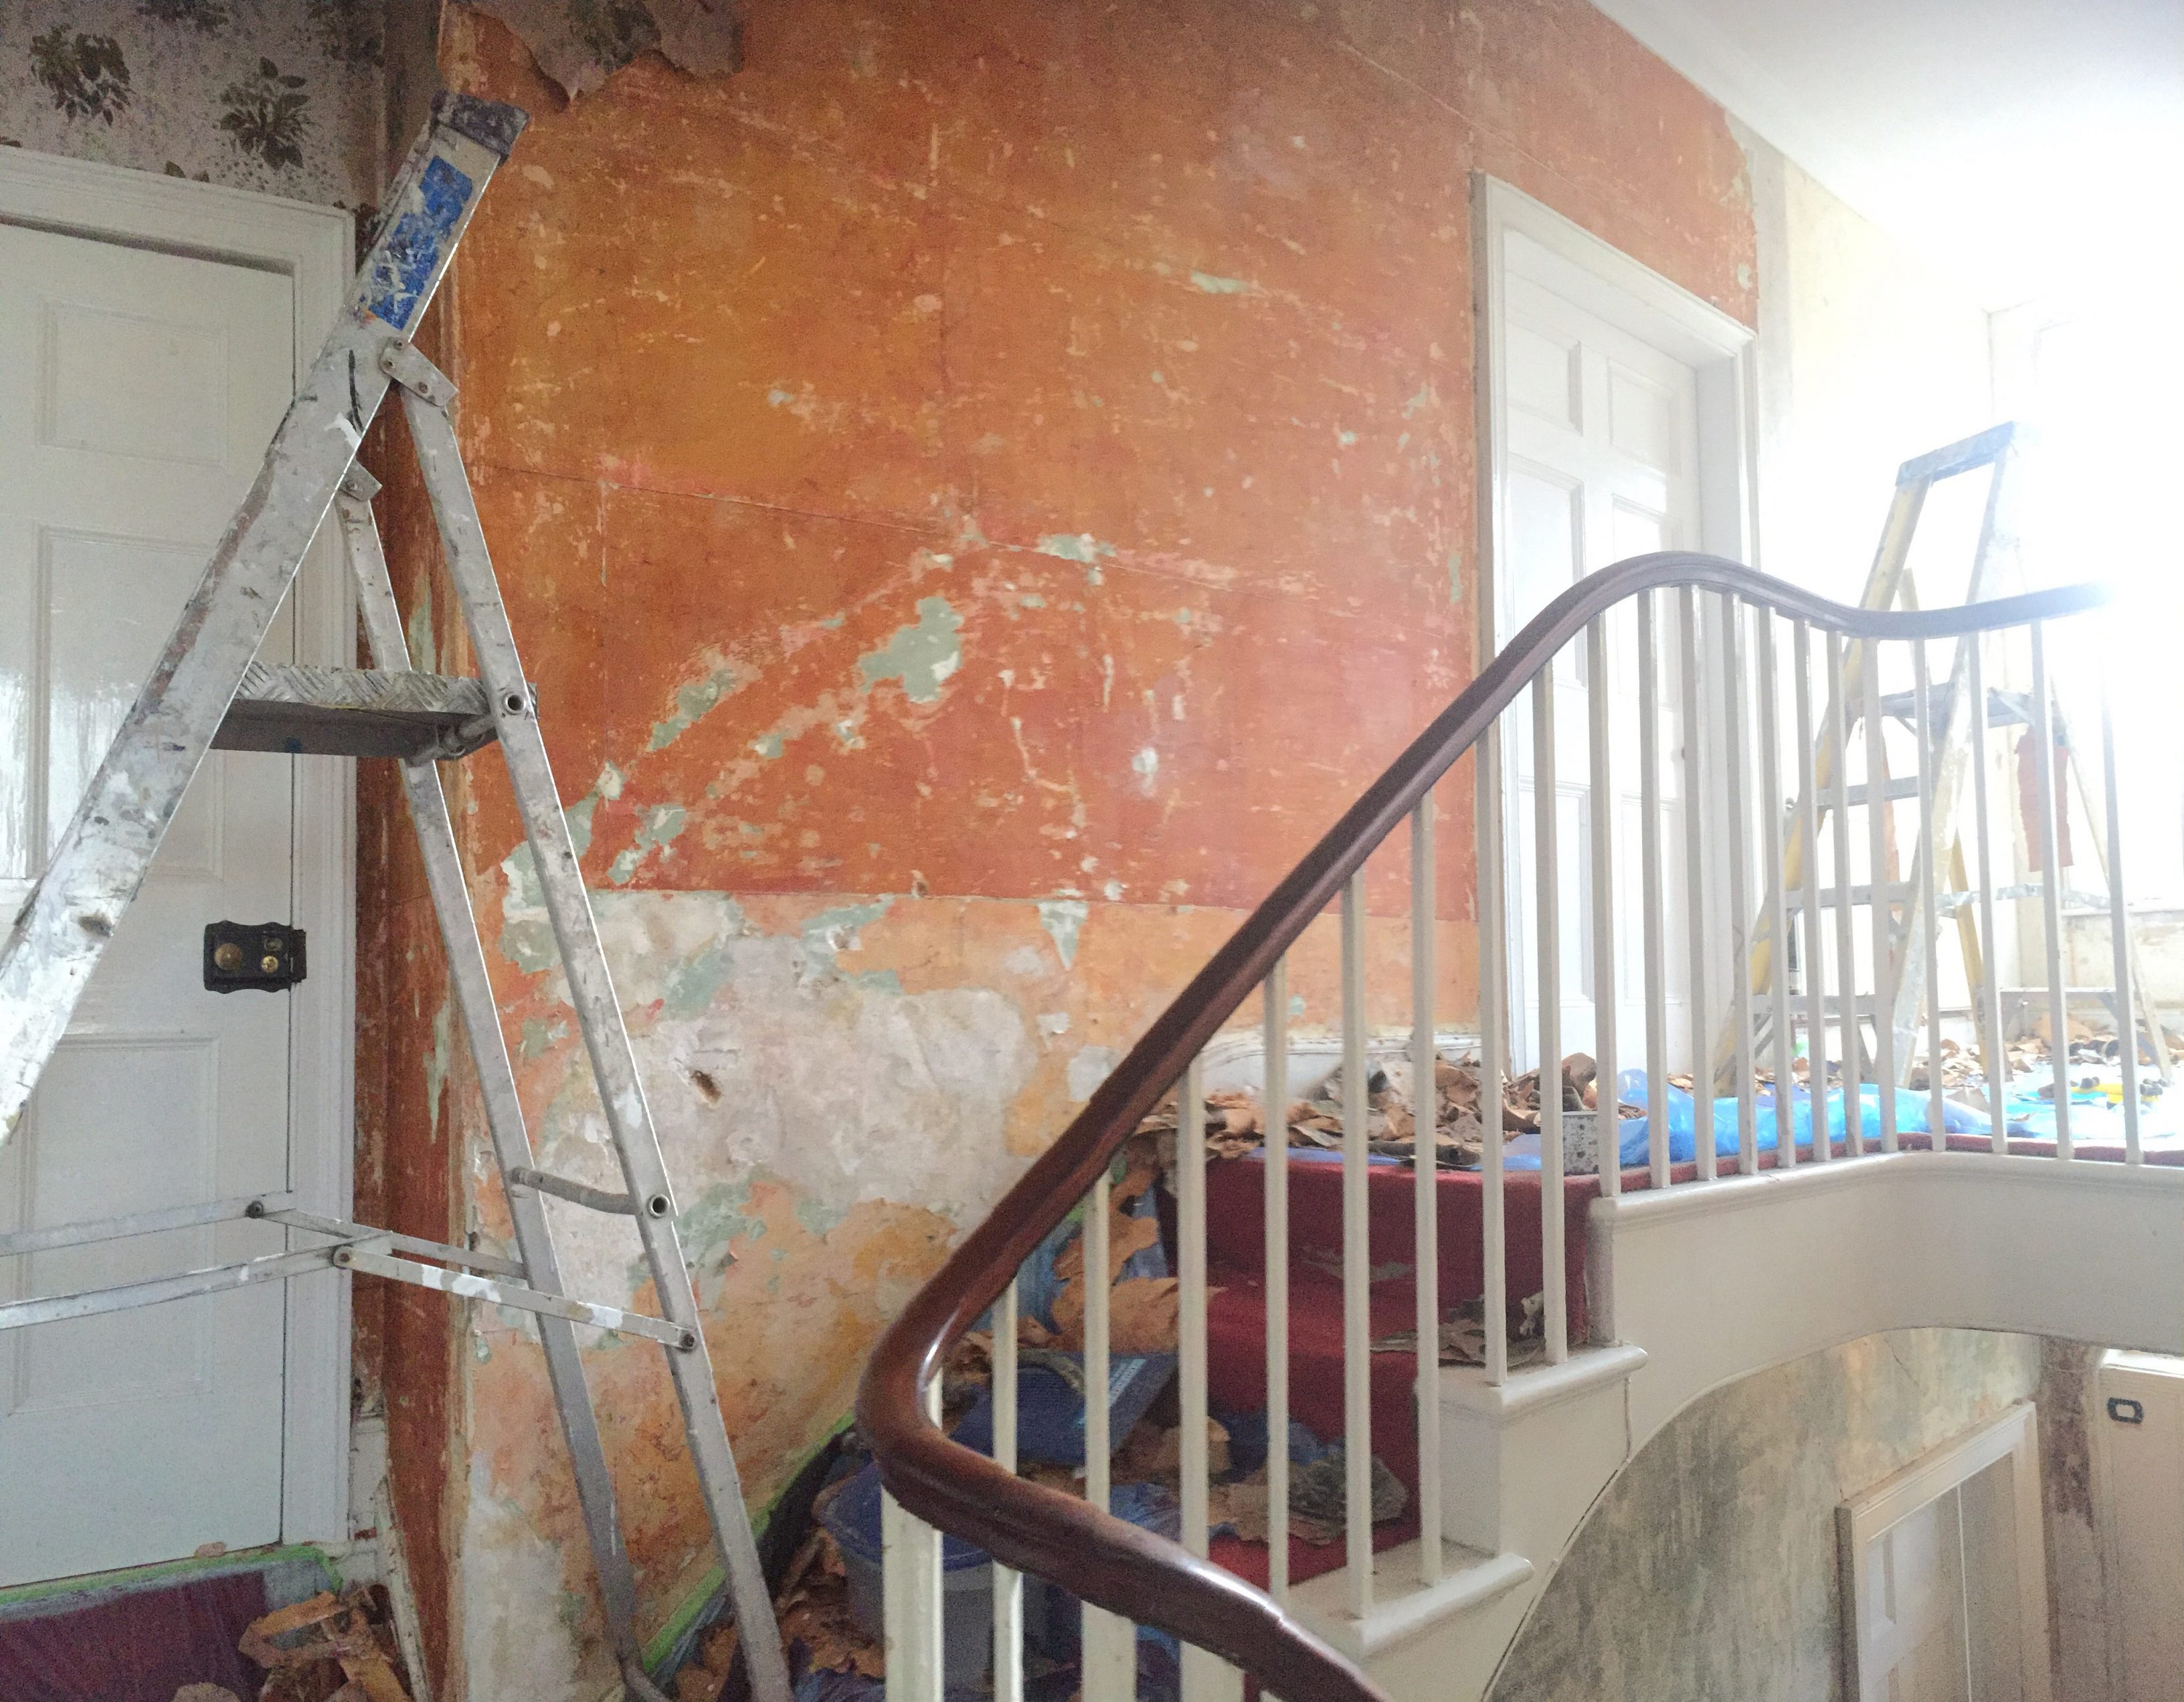
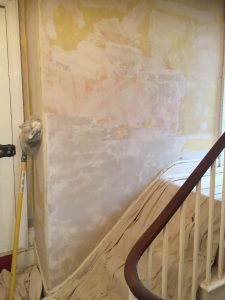
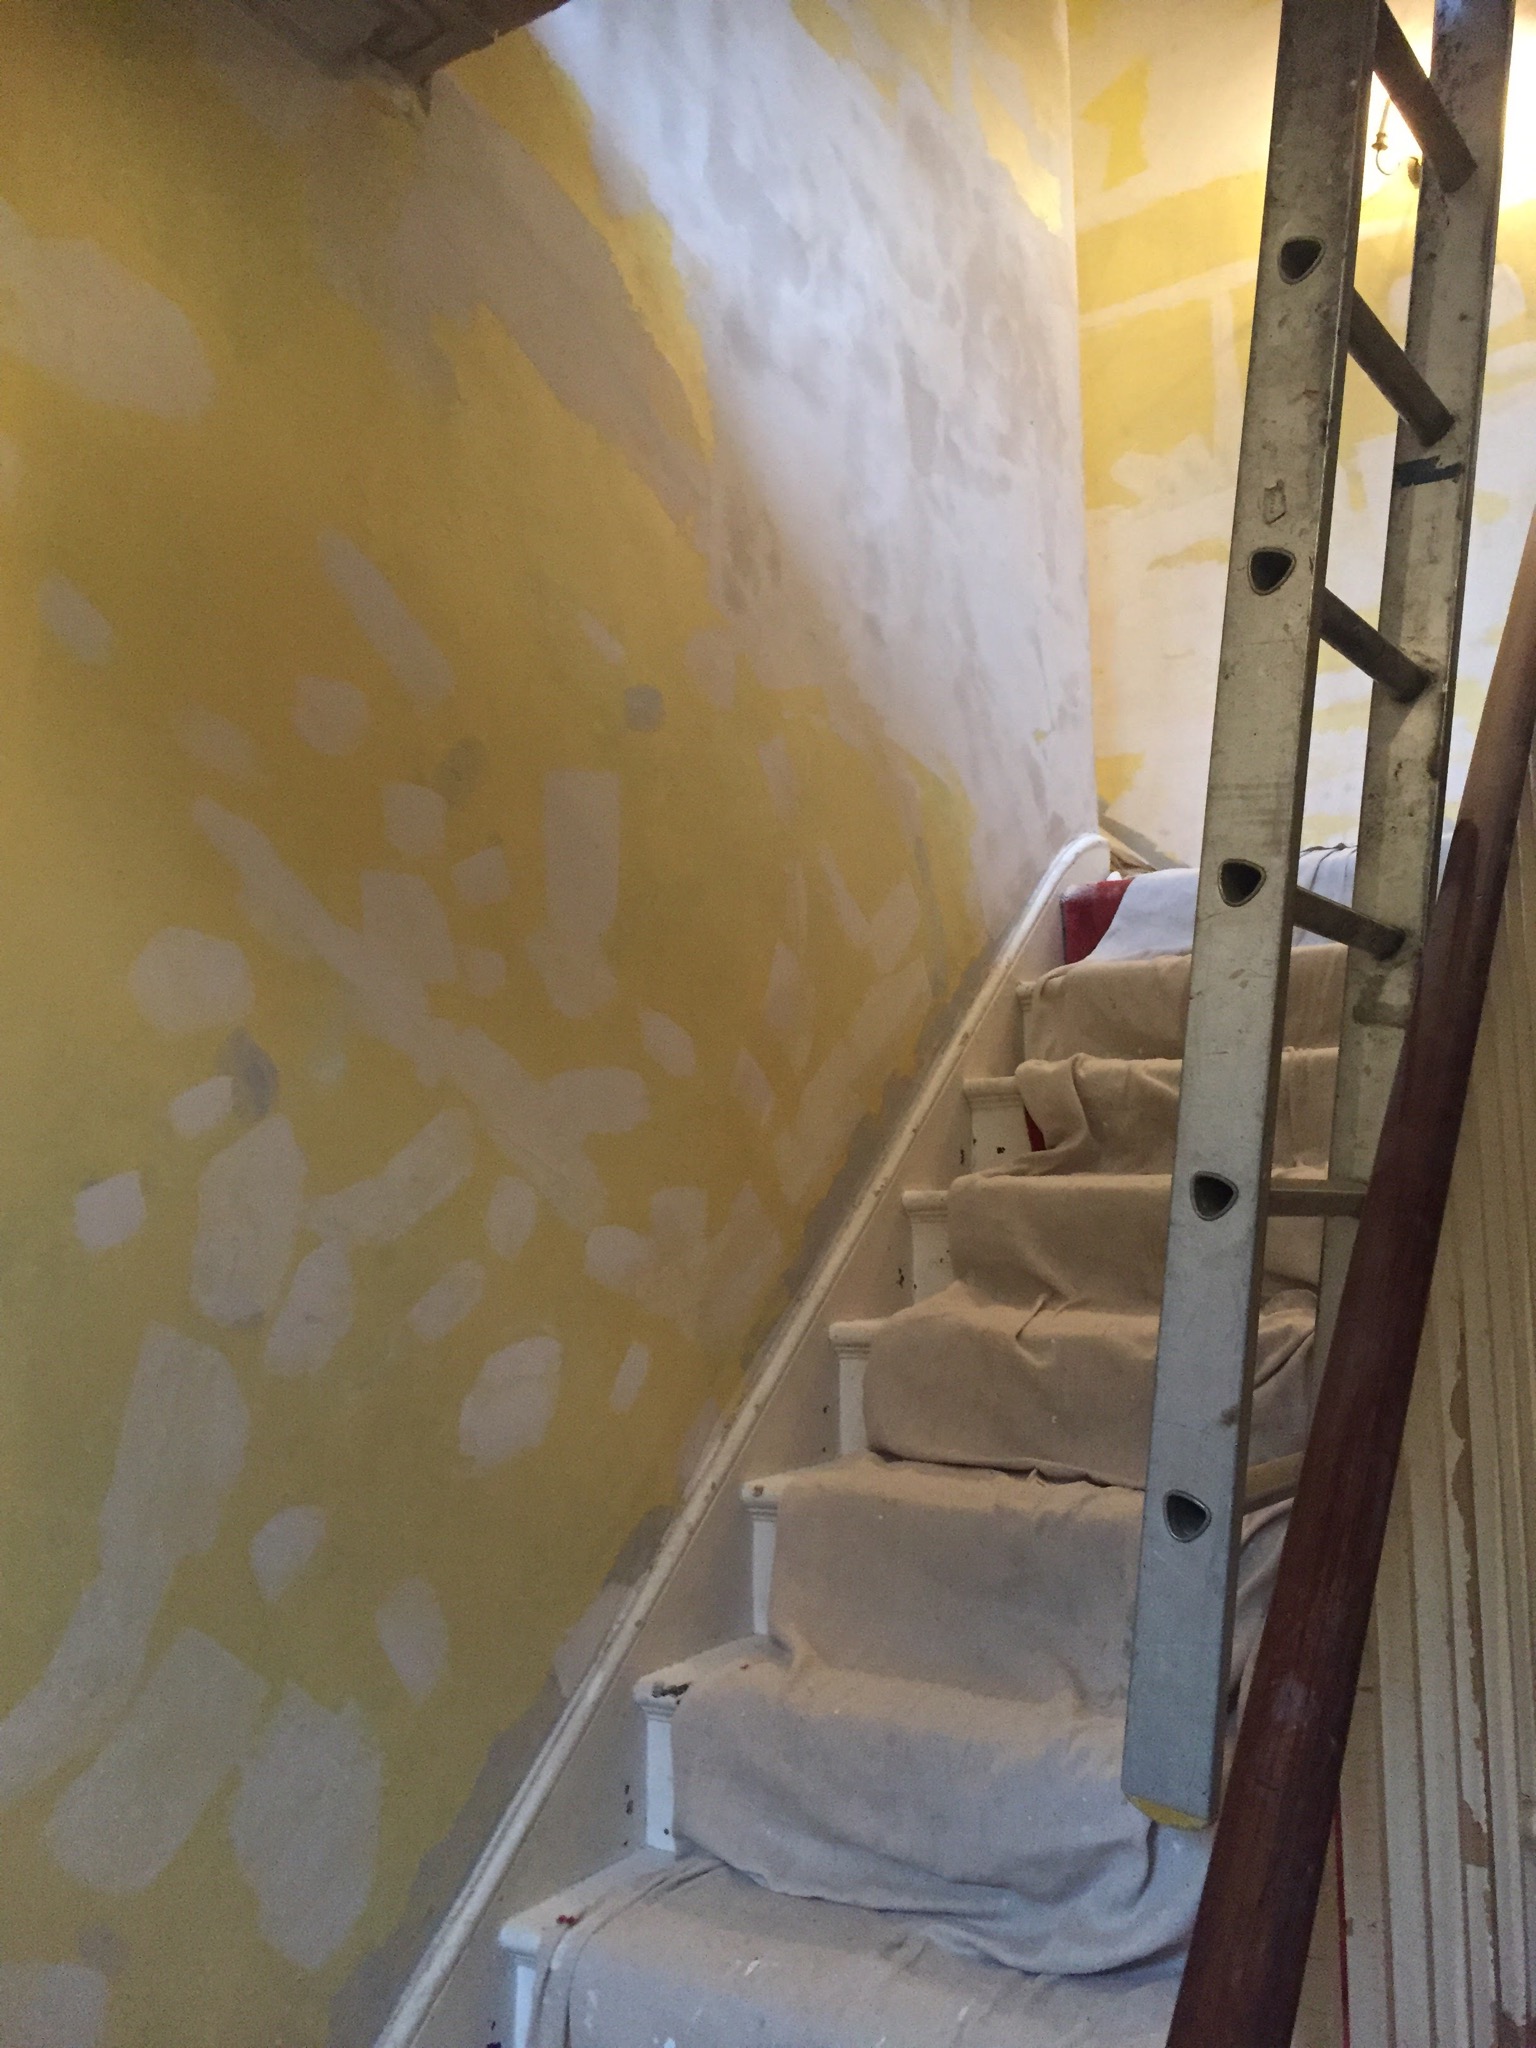
Removal of the wallpaper had revealed something interesting, many years ago the walls had been finished in a faux effect of two different coloured marble blocks complete with faux graining and grout, the lower third was a deep colour while the upper two thirds a lighter colour as seen in the pictures above and dated from around the 1860’s.
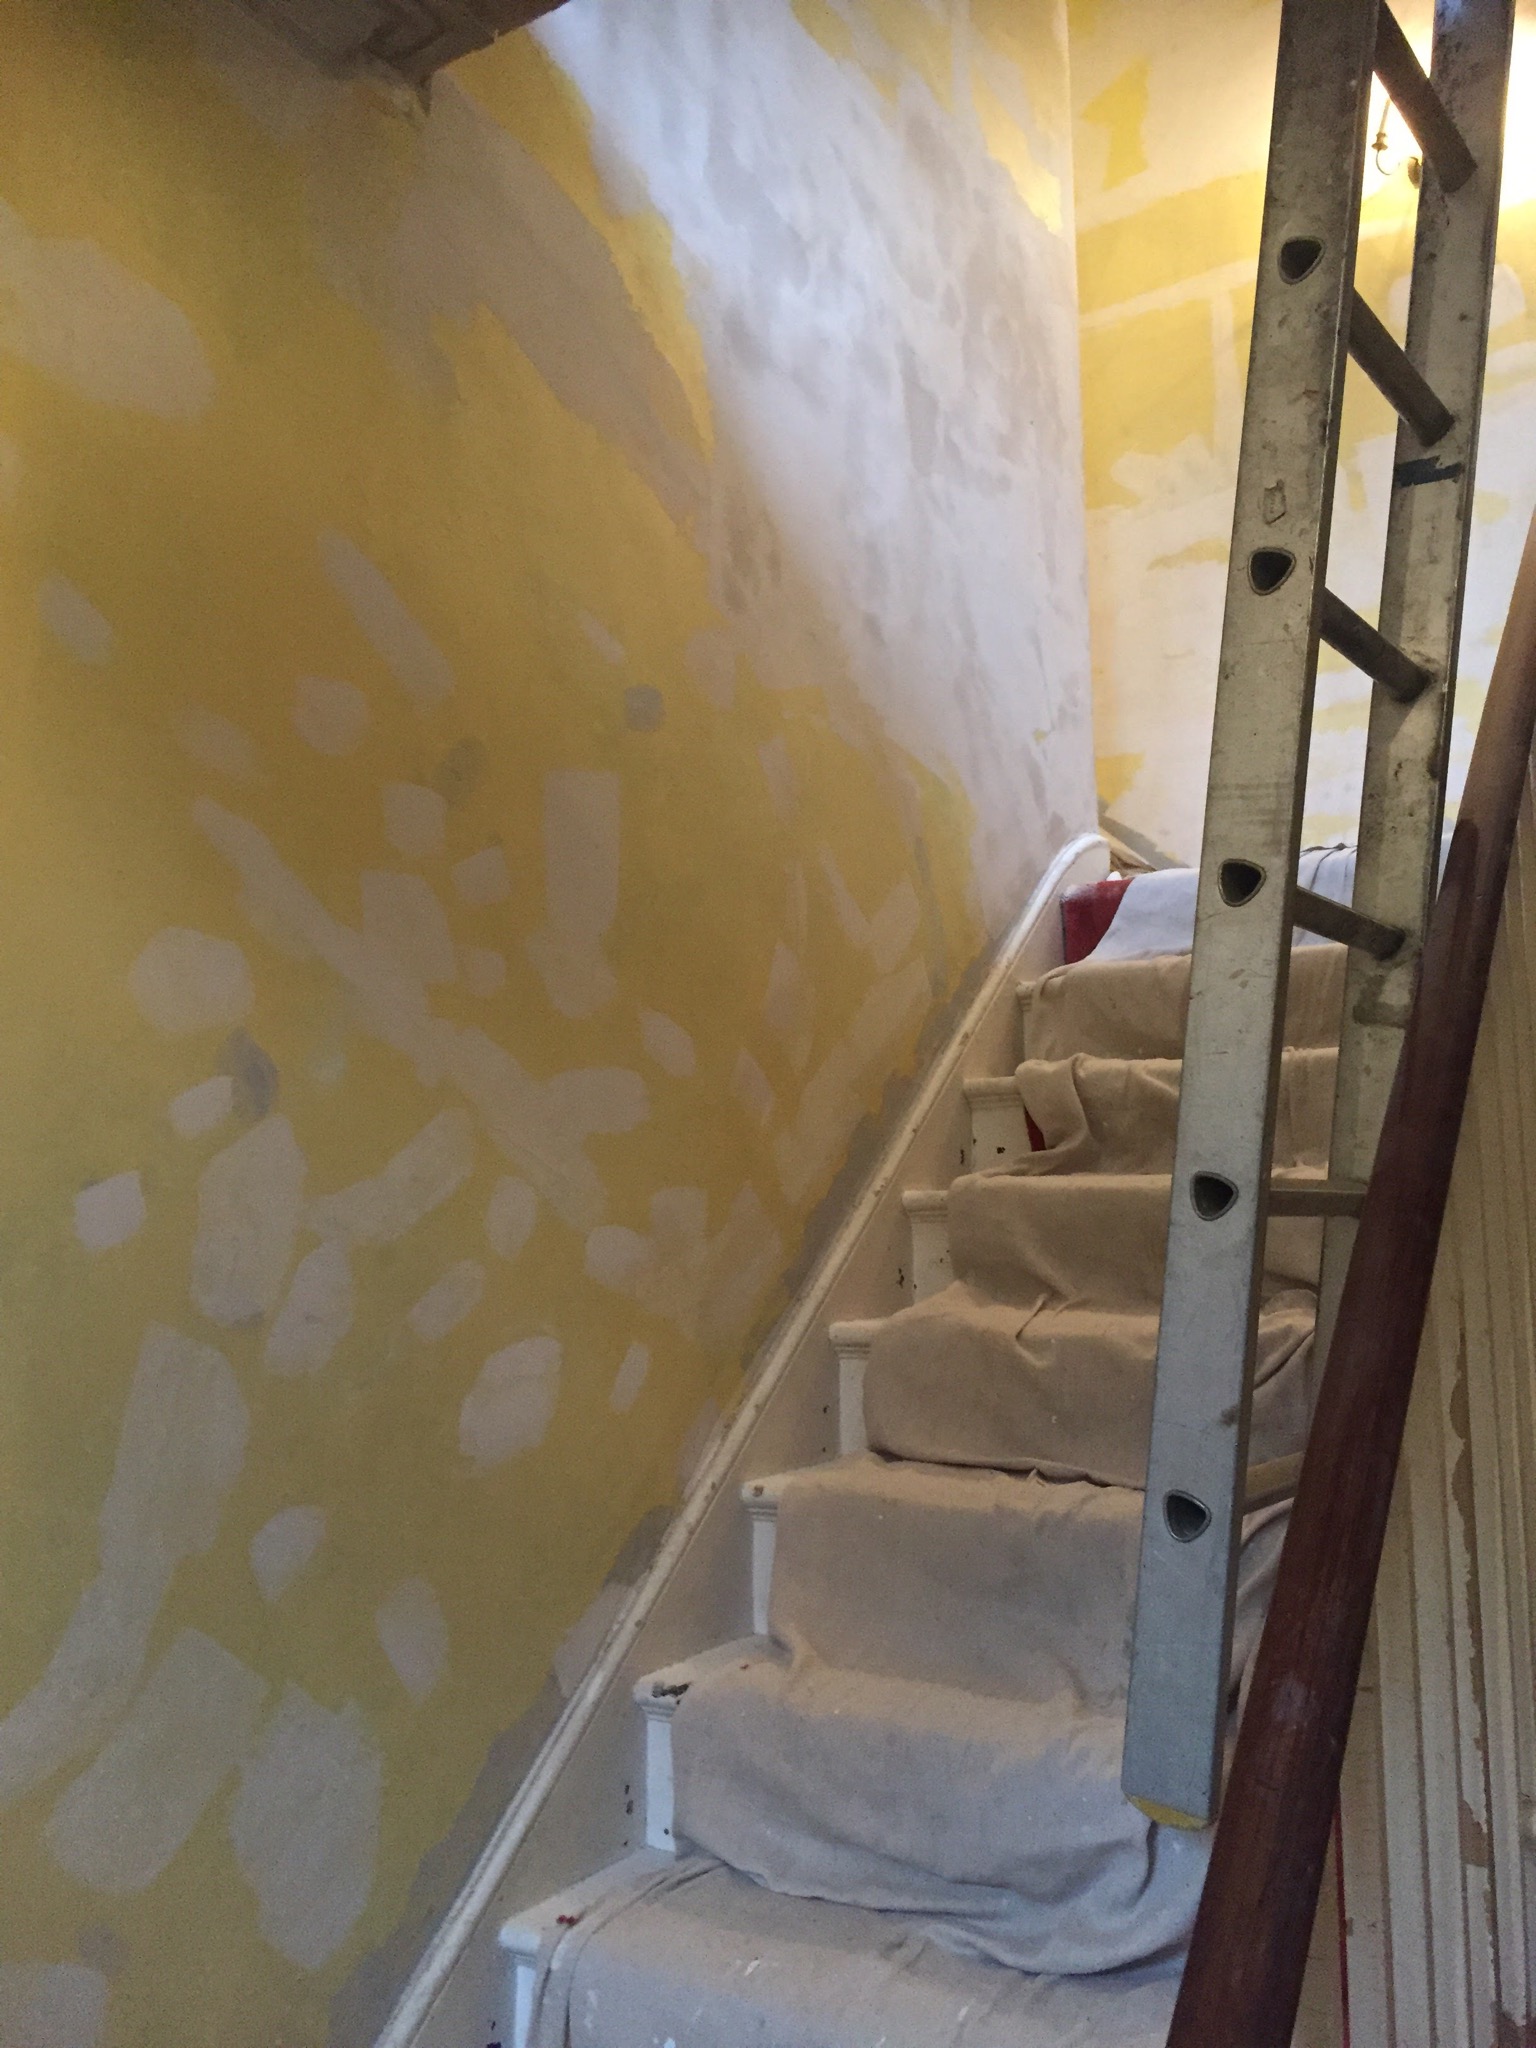
The second week continued with preparing the walls , due to the age of the property the lath and plaster walls were in a very friable condition, before filling the walls they were sealed and rubbed down , the process is then repeated until a reasonable smooth surface is achieved
Faux effect revealed dating from the 1860’s
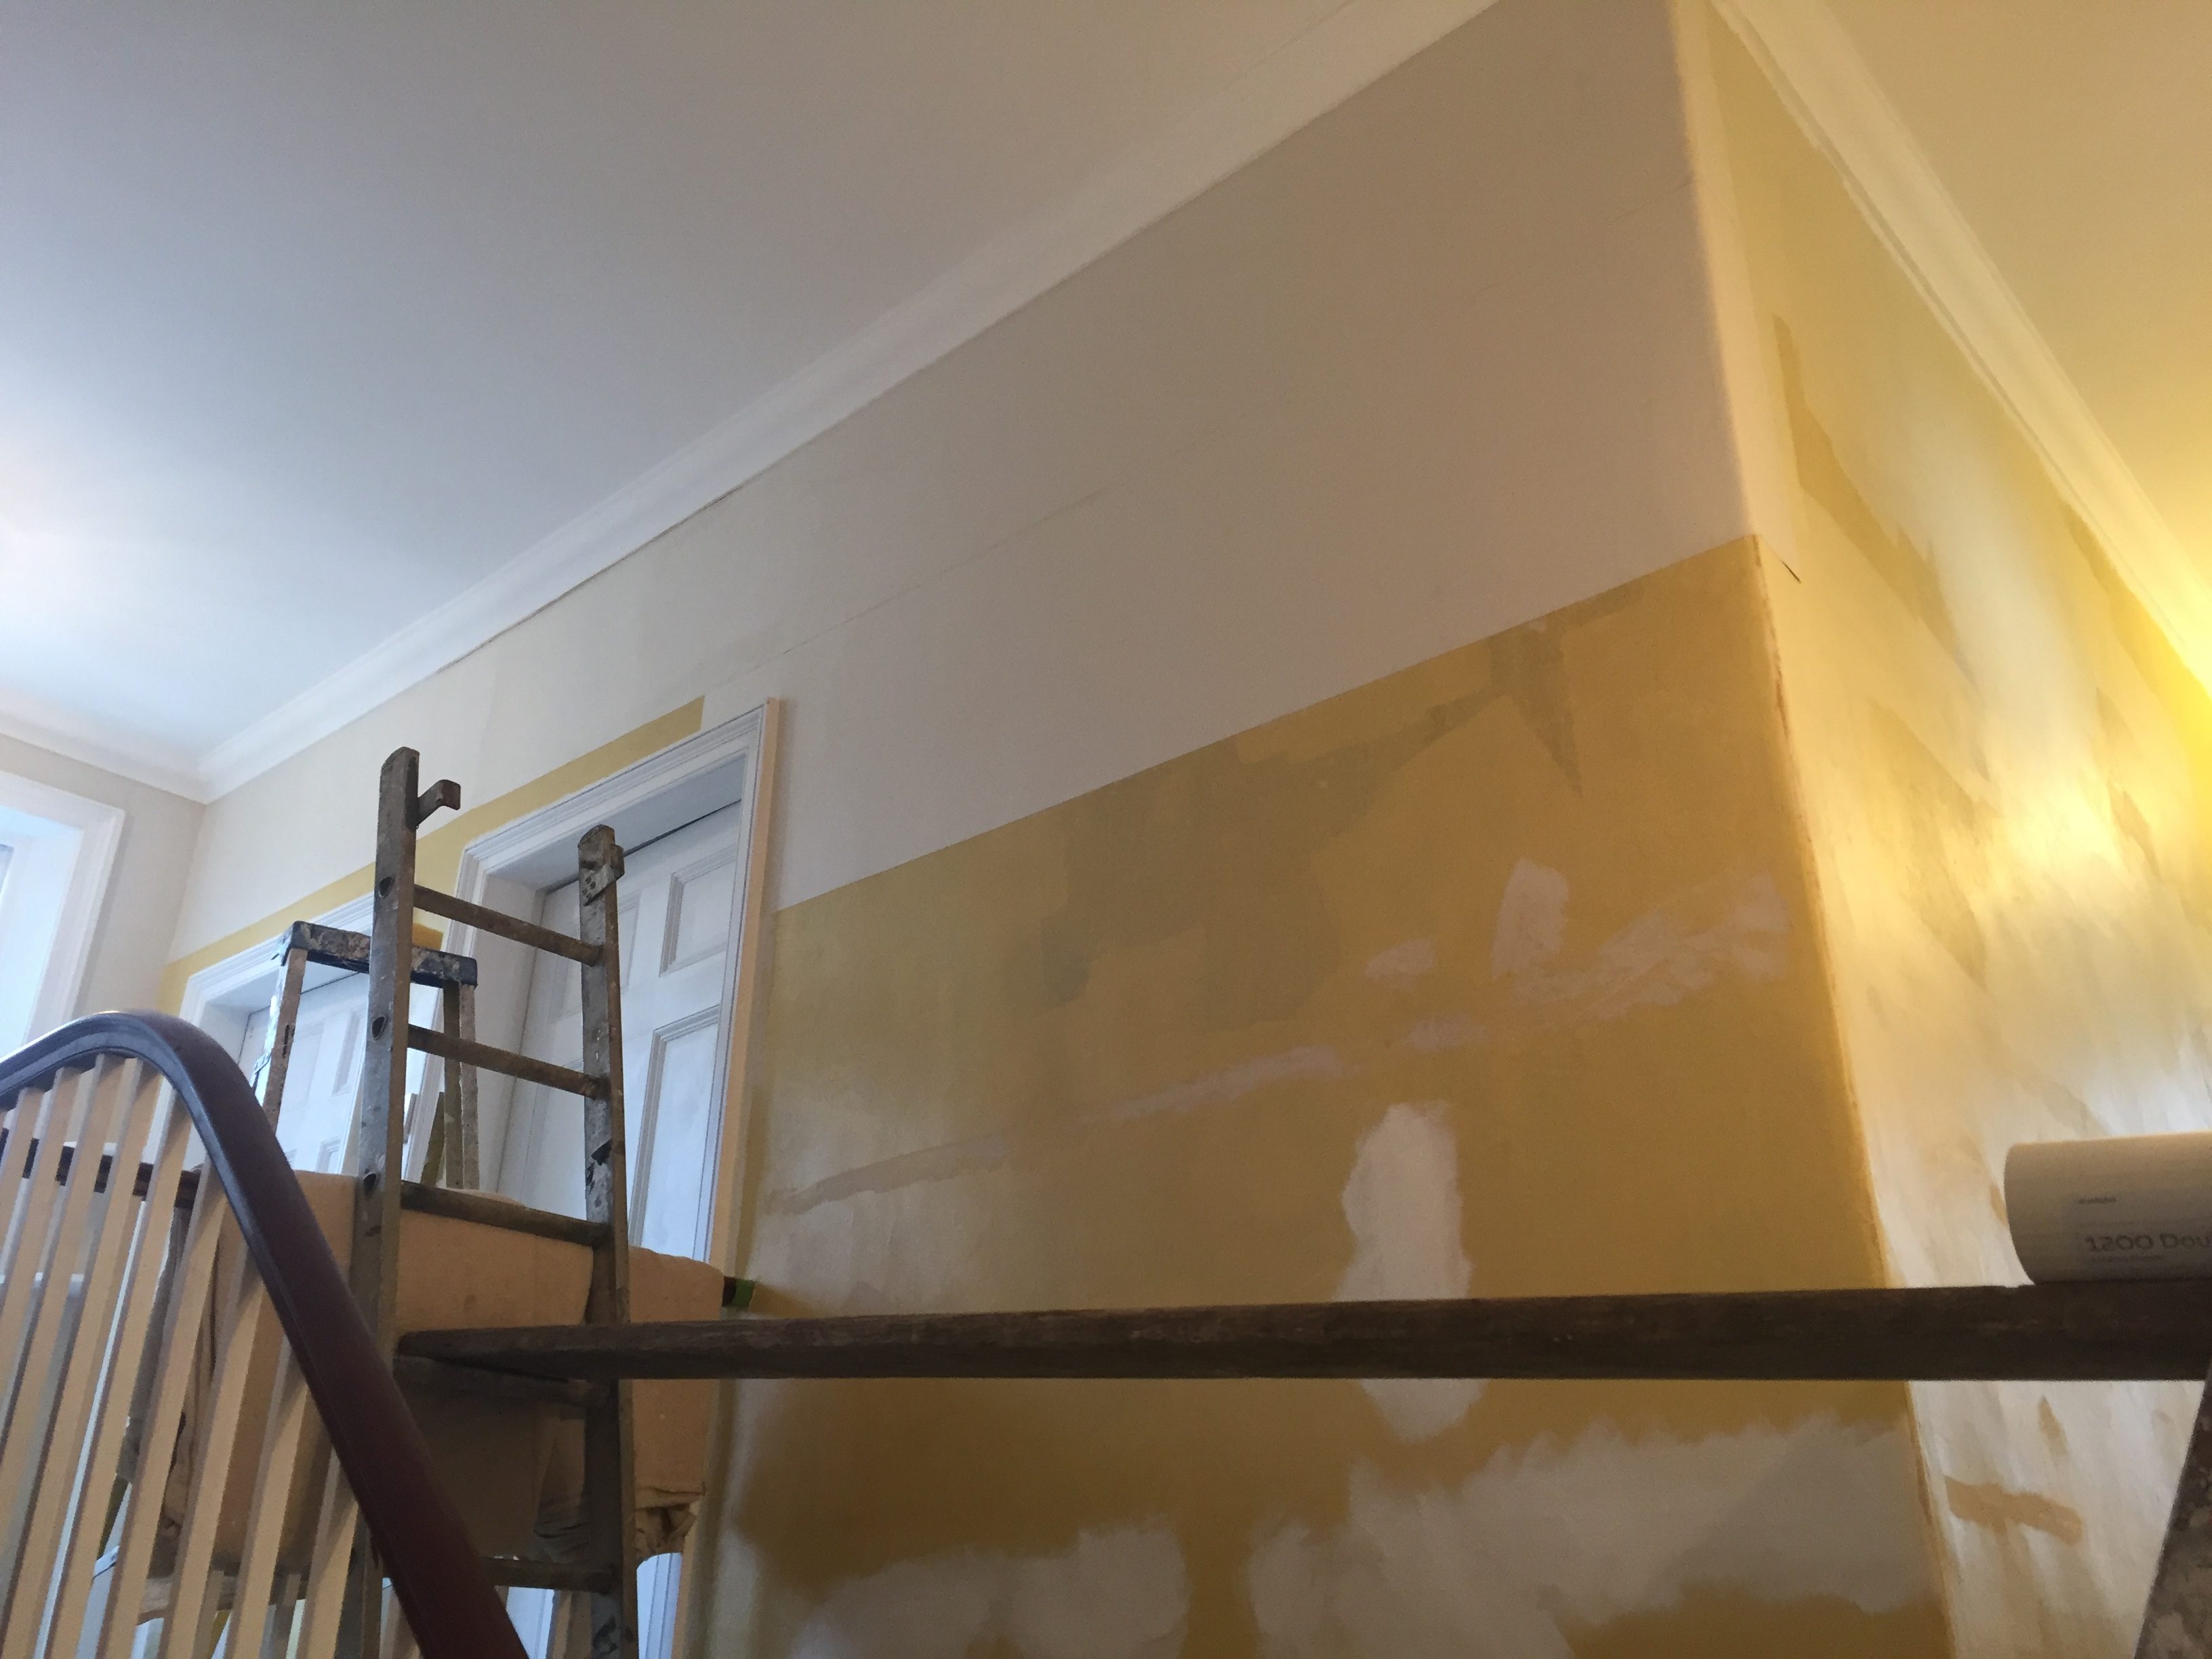
The lower ceiling had previously been lined and then a distemper applied to ceiling and cornice, usually I would remove the lining paper and re- line but due to the poor condition of the ceiling I decided in this circumstance it would be wiser not to disturb things too much, distemper cannot be painted over with emulsion and was first treated with a great product from Zinsser called Peel Stop, the ceiling was then able to accept 2 coats of white emulsion.
Weeks Three and Four
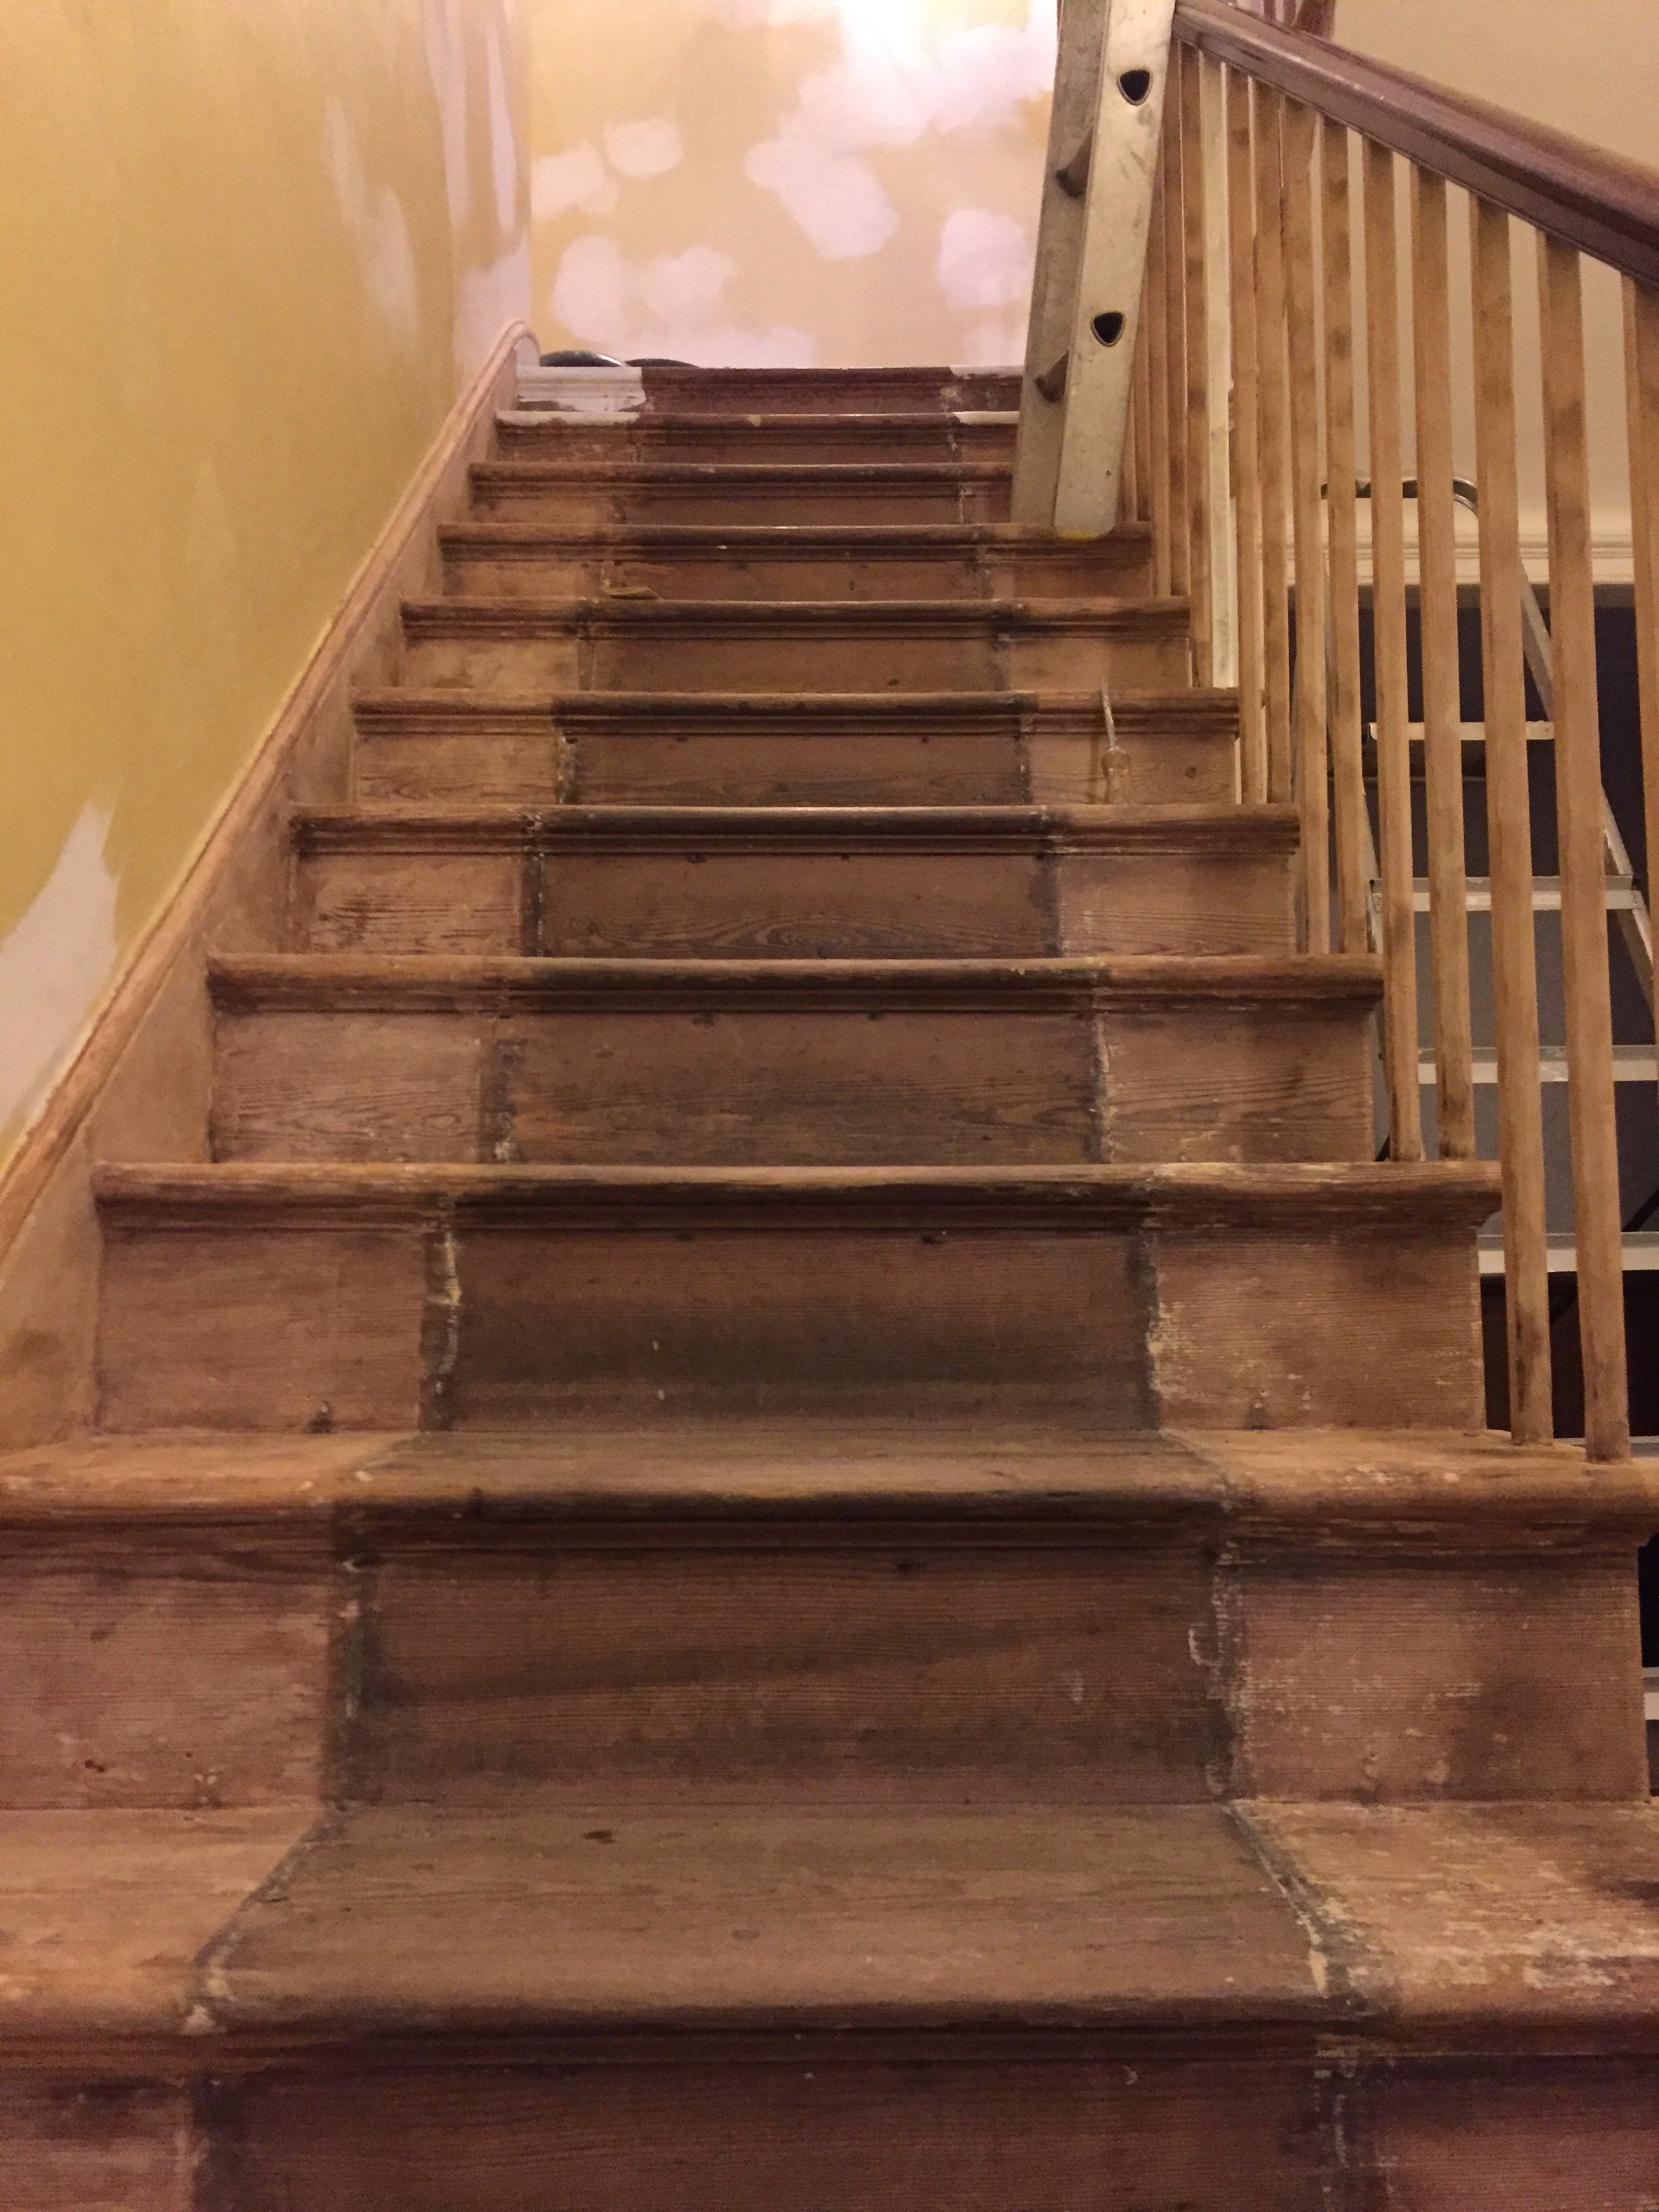
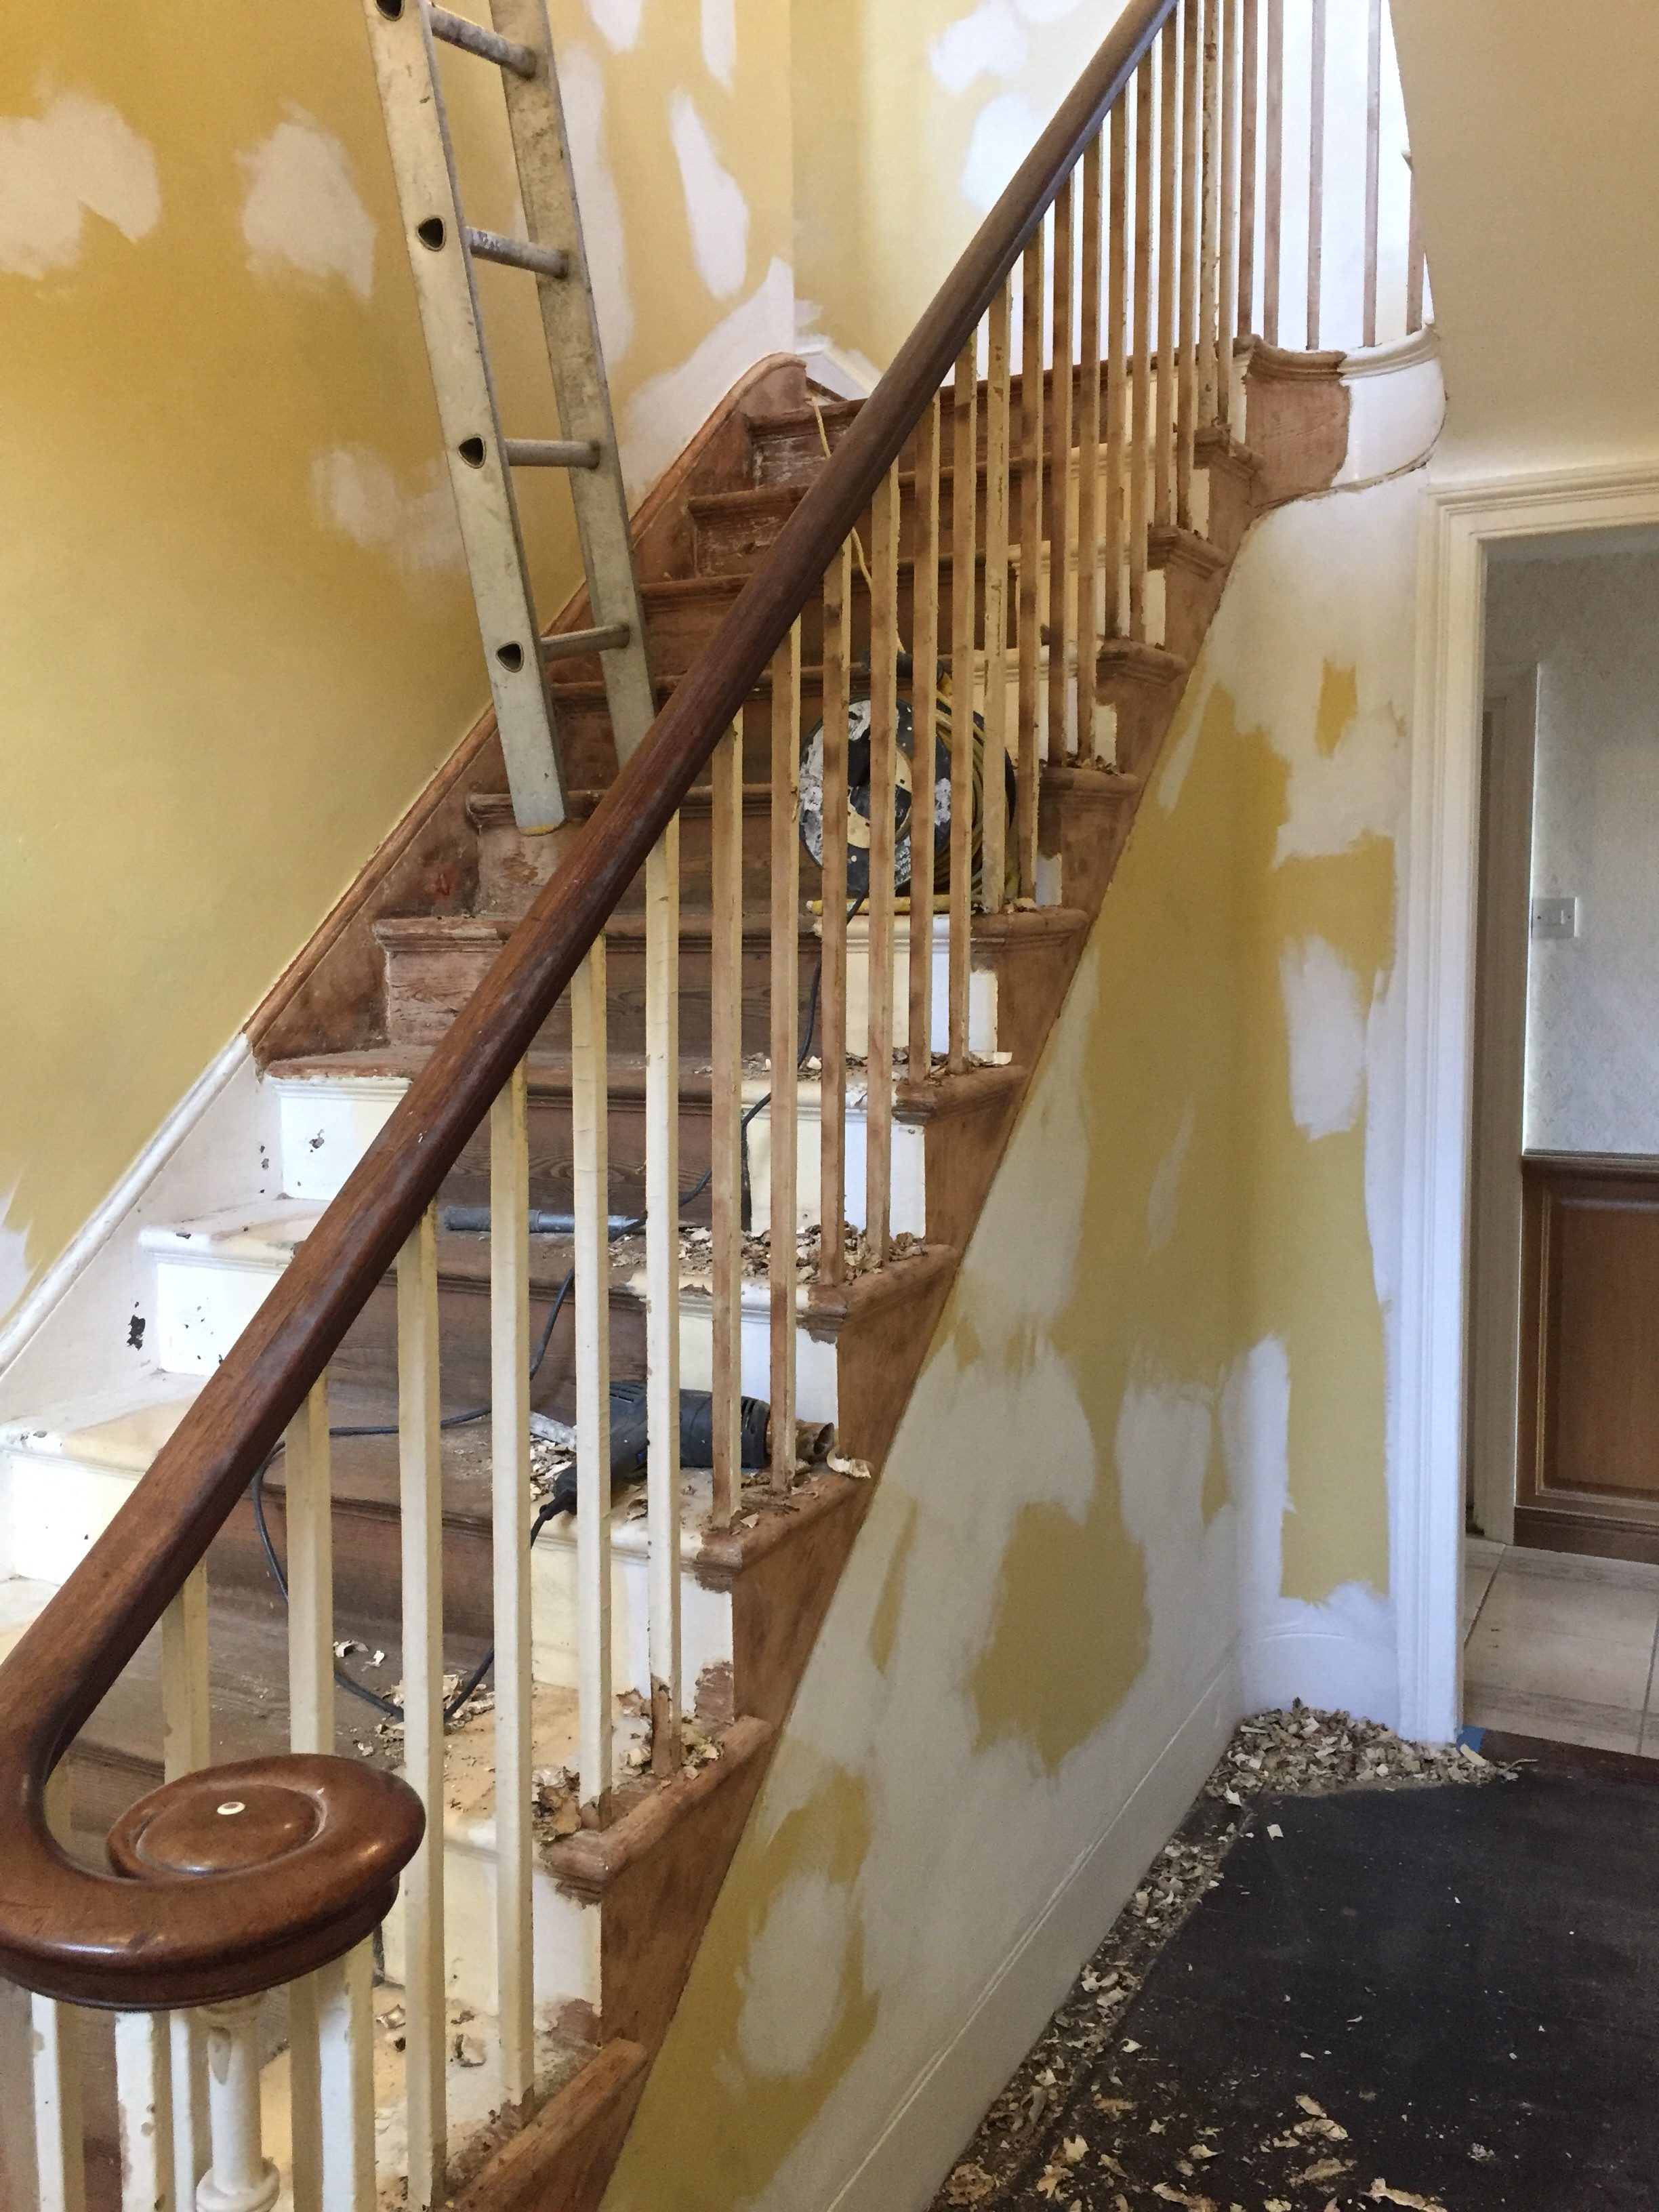
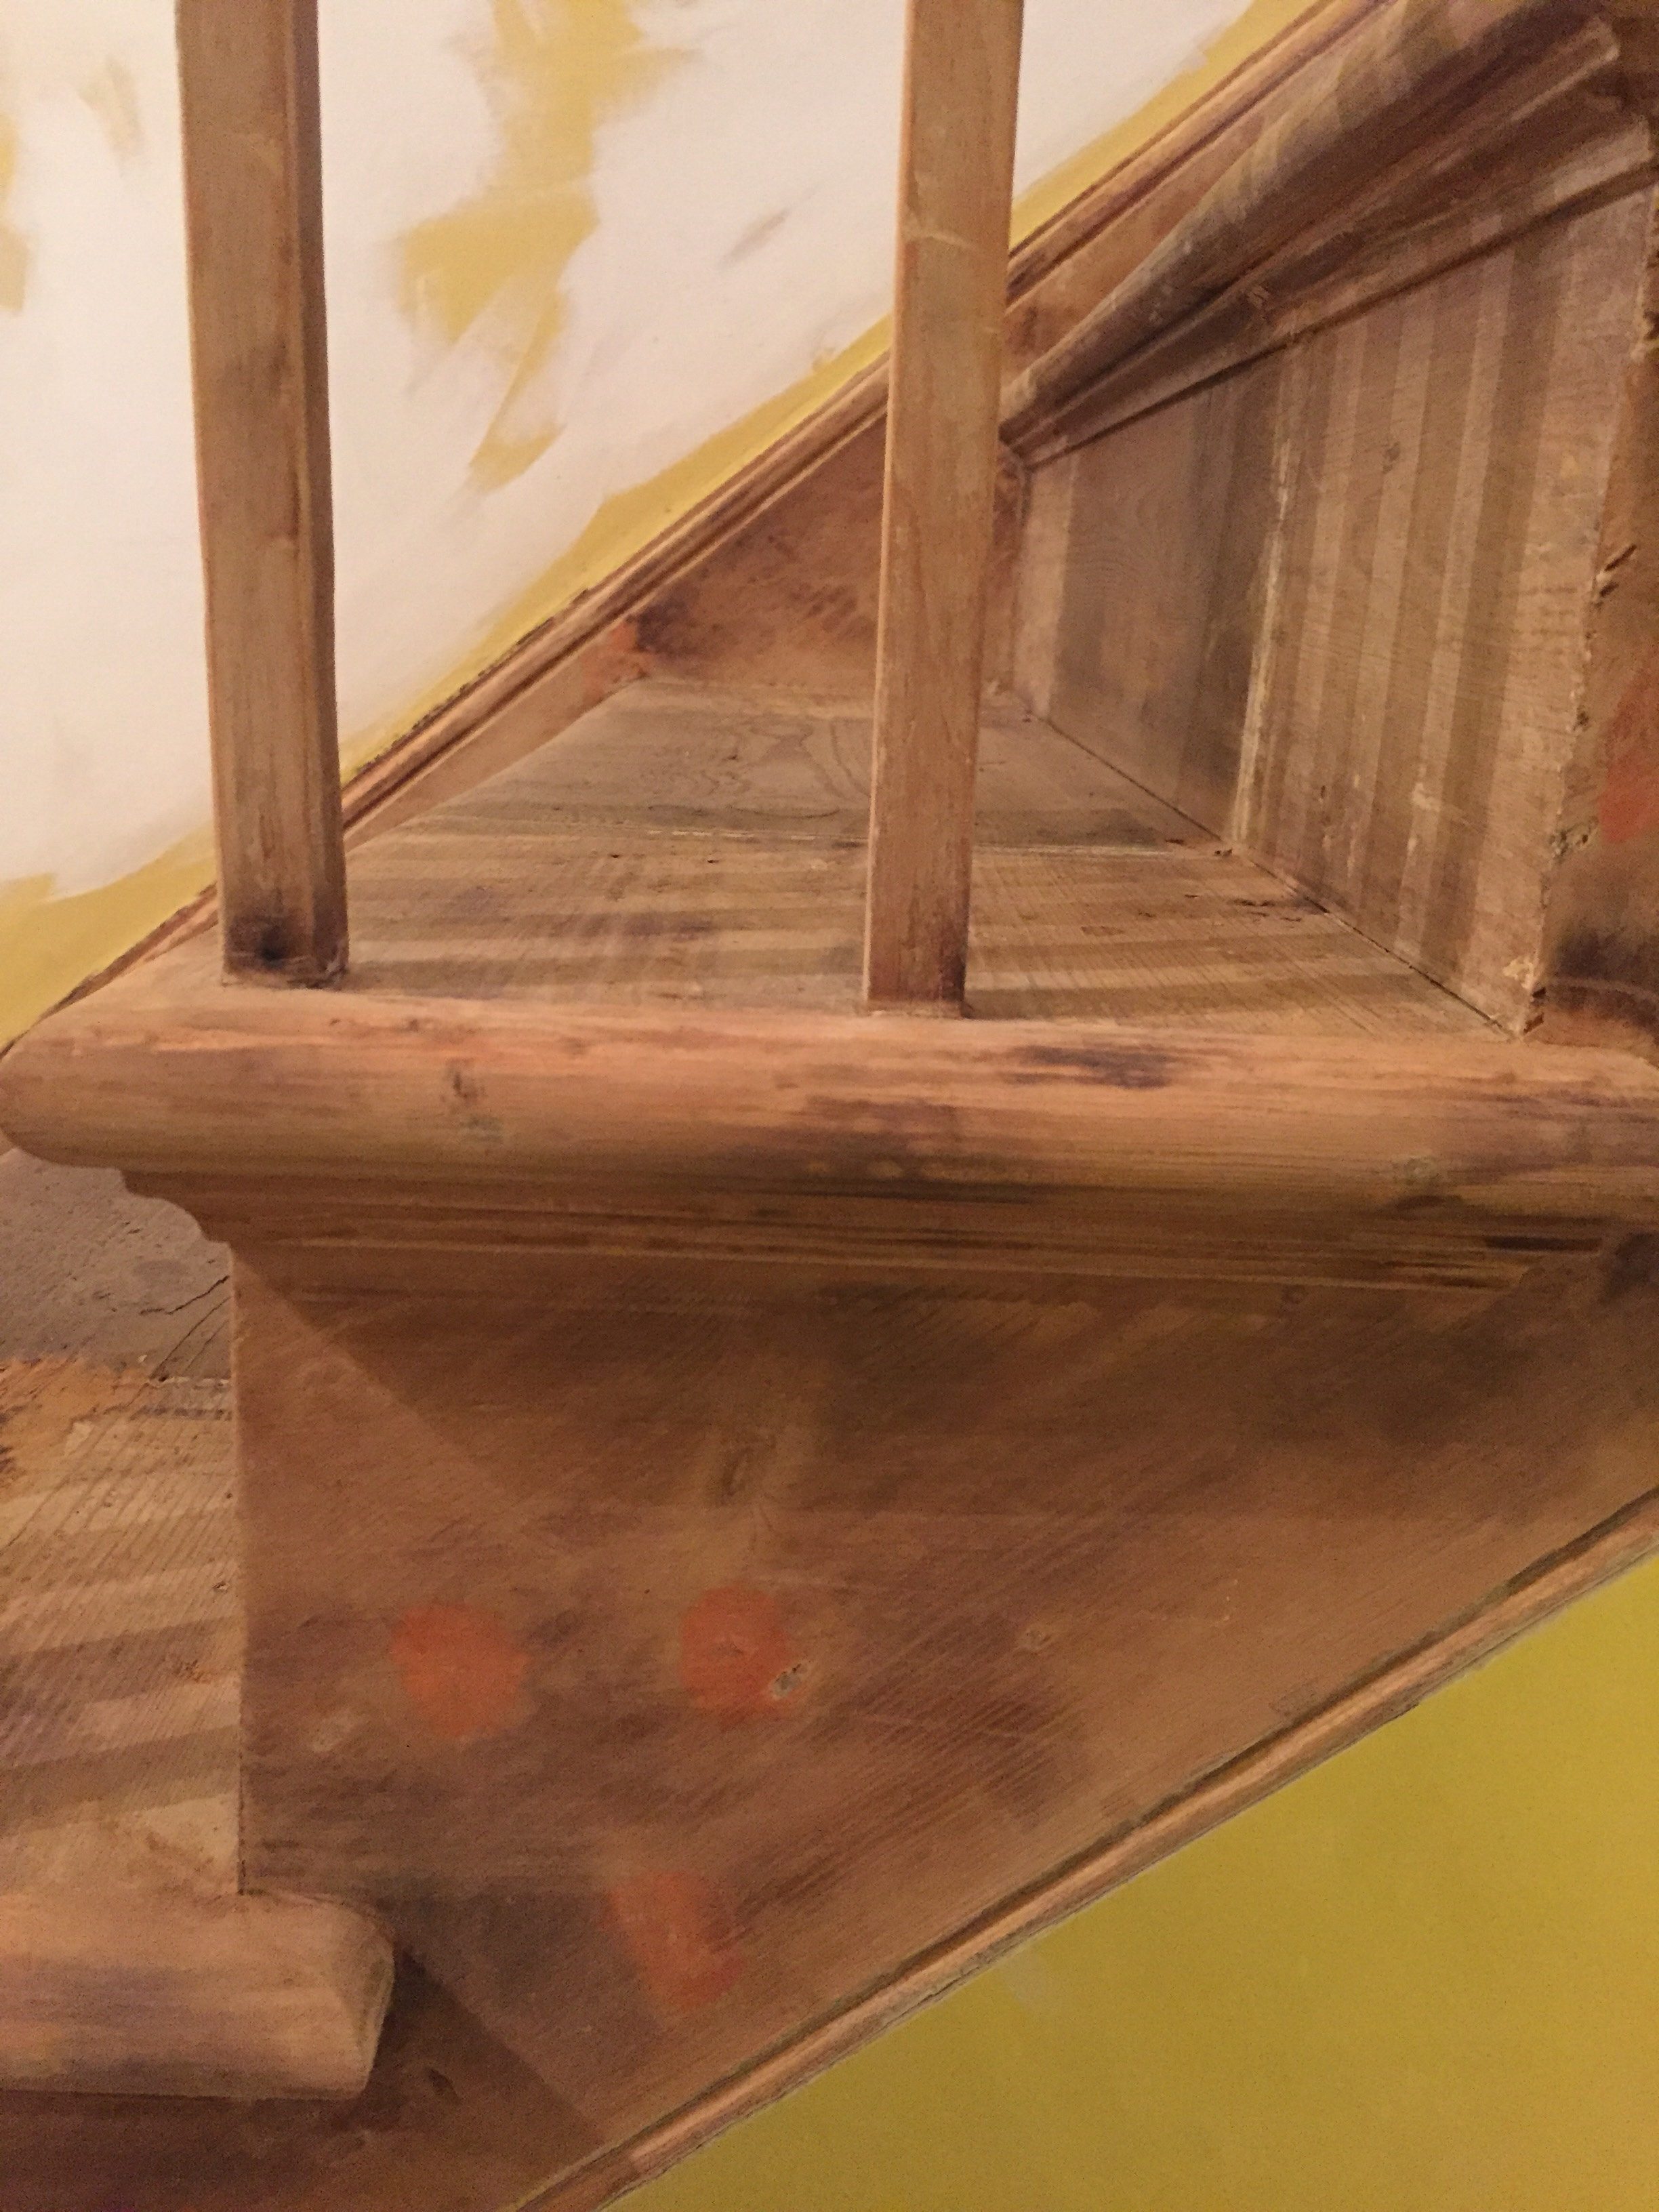
These weeks bring yet more preparation work, the banisters, treads and rises were all to be stripped, having accumulated around 200 years worth of paint most of the finer details of the mouldings had been lost, the paint was removed using a heat gun then the woodwork was primed with an oil based primer then filled with a 2 pack wood filler followed by an oil based undercoat , the filling process was repeated then a second undercoat applied. Doors, Door-frames, Skirting and Windows were thoroughly sanded down using a random orbital sander.
Weeks Four and Five
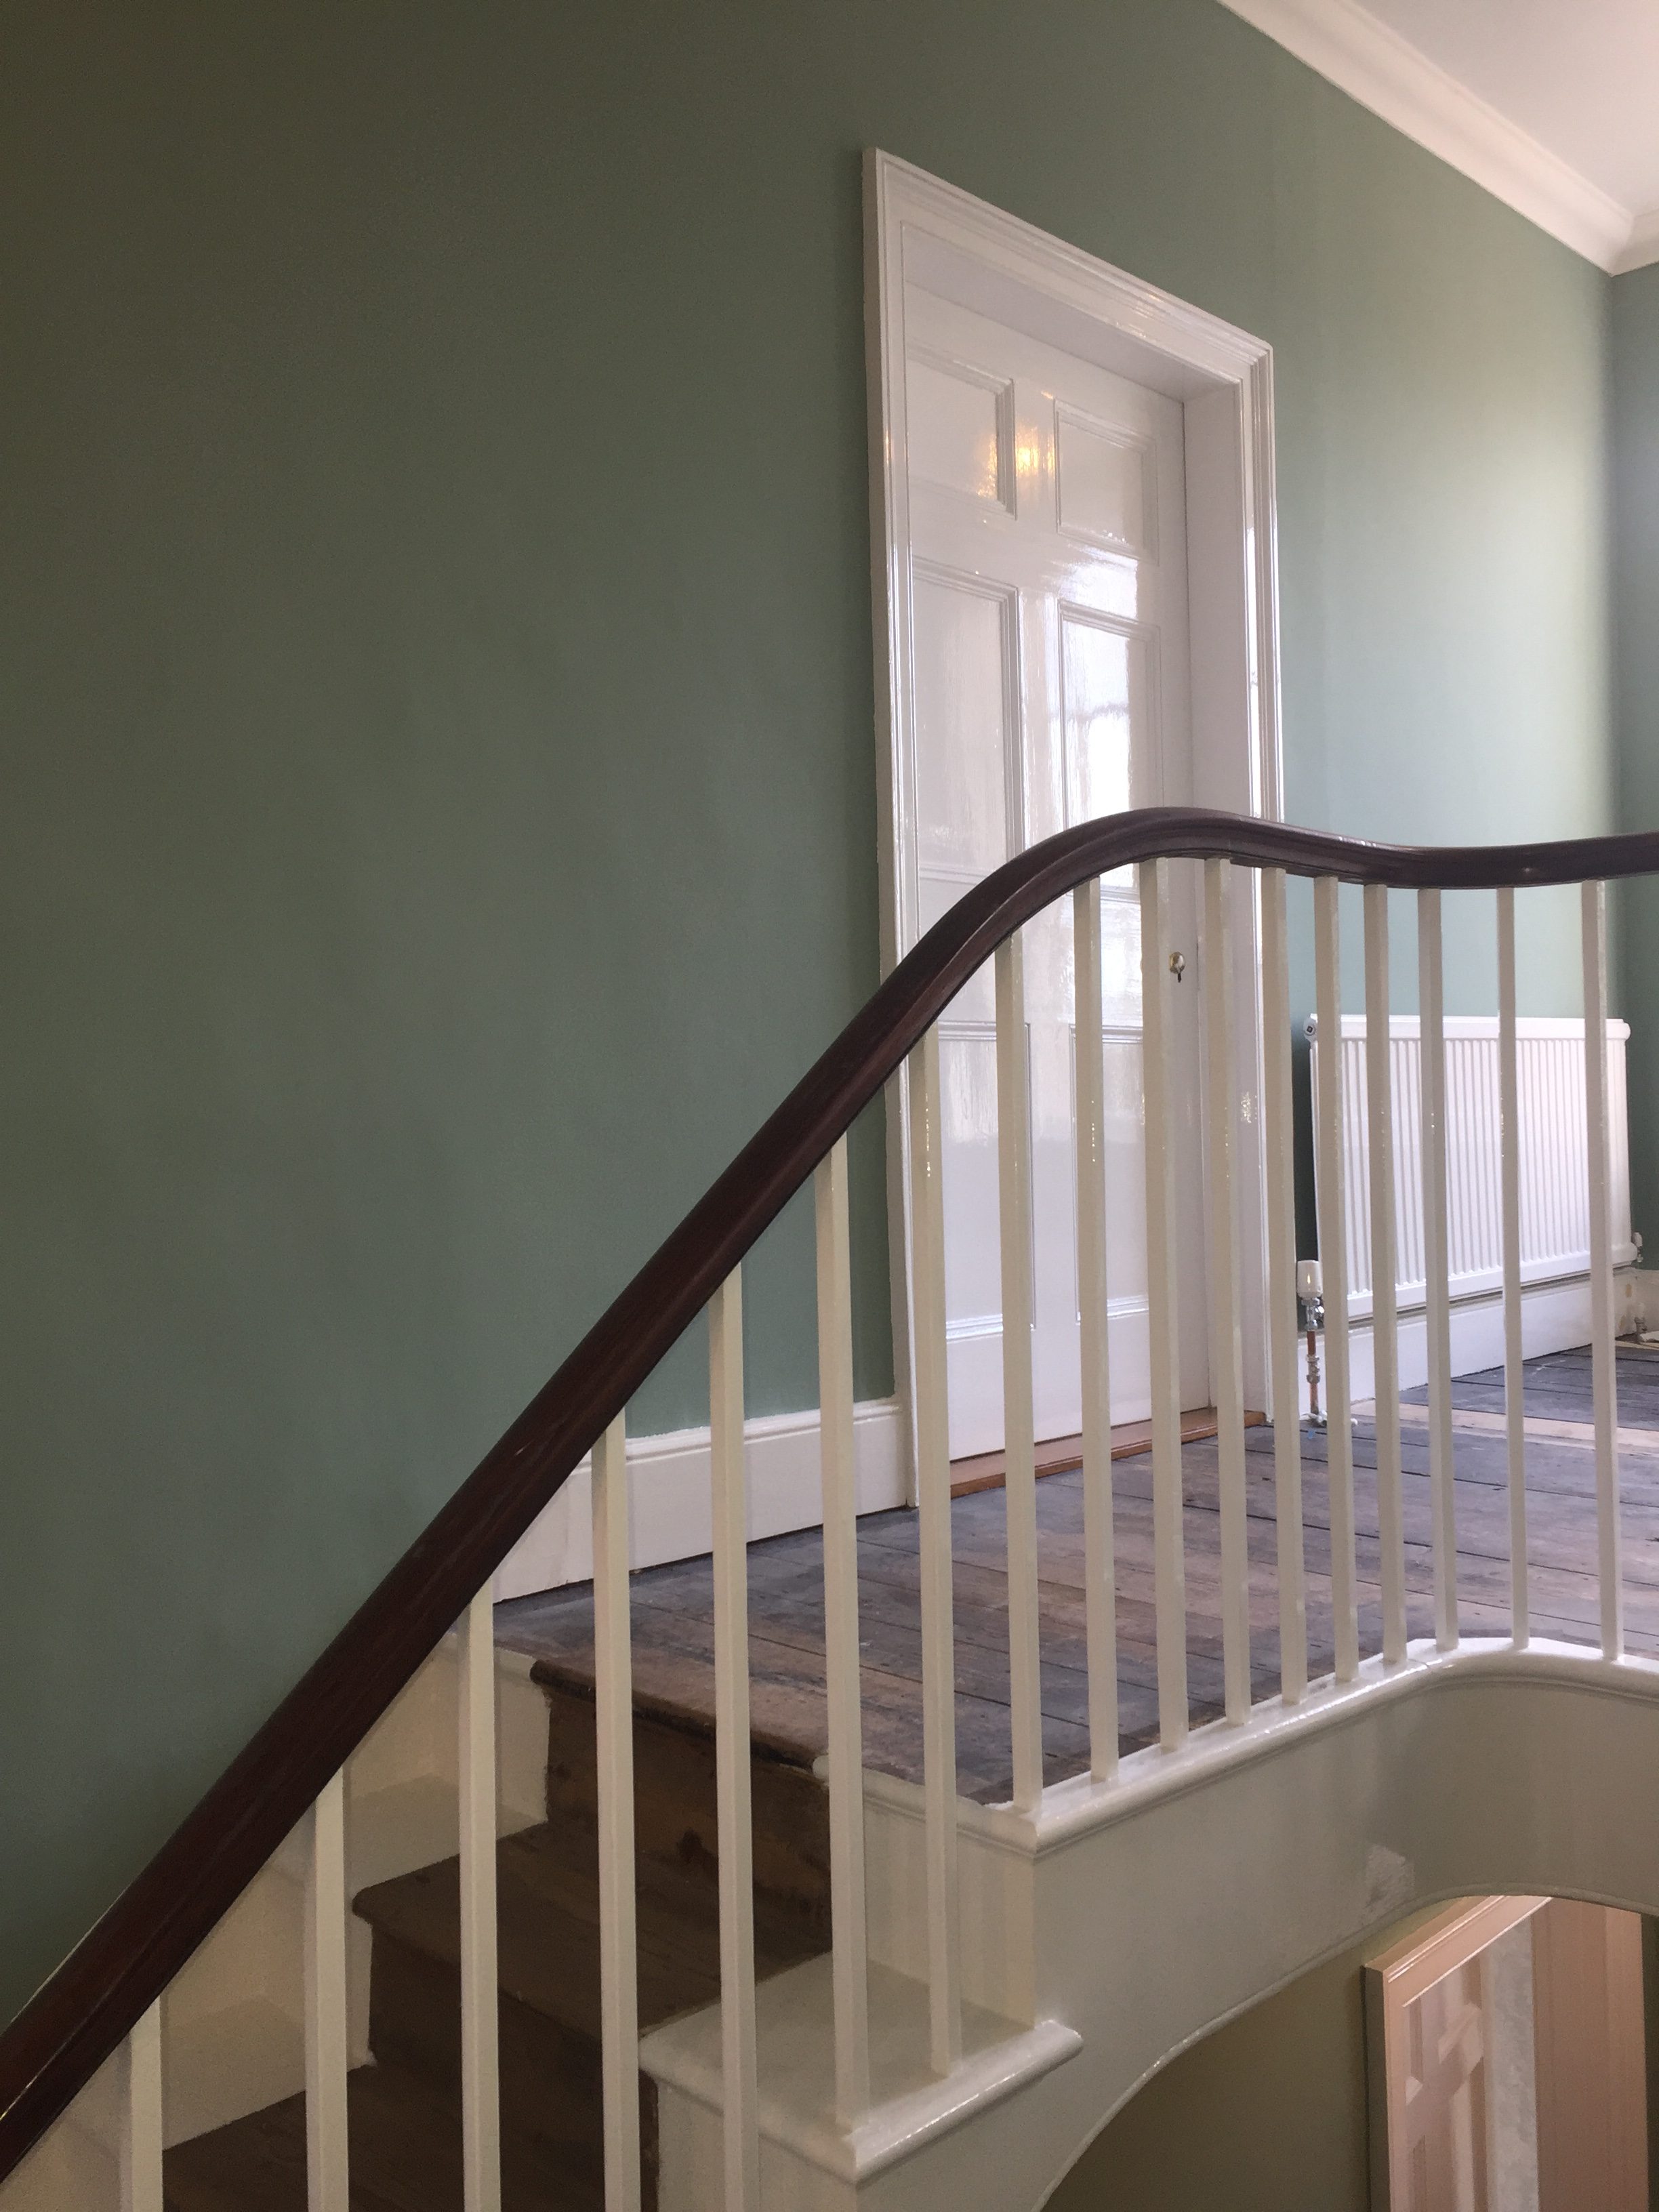
Most of the preparation work is now completed and the walls are now ready for lining, I used 1200 grade Dulux Lining Paper I then applied a base coat of emulsion and filled any gaps where the paper is butted together with a fine filler, the walls are then rubbed down using a fine grade sandpaper and applied two coats of the finished emulsion which was Little Greene Absolute Matt.

Week 6
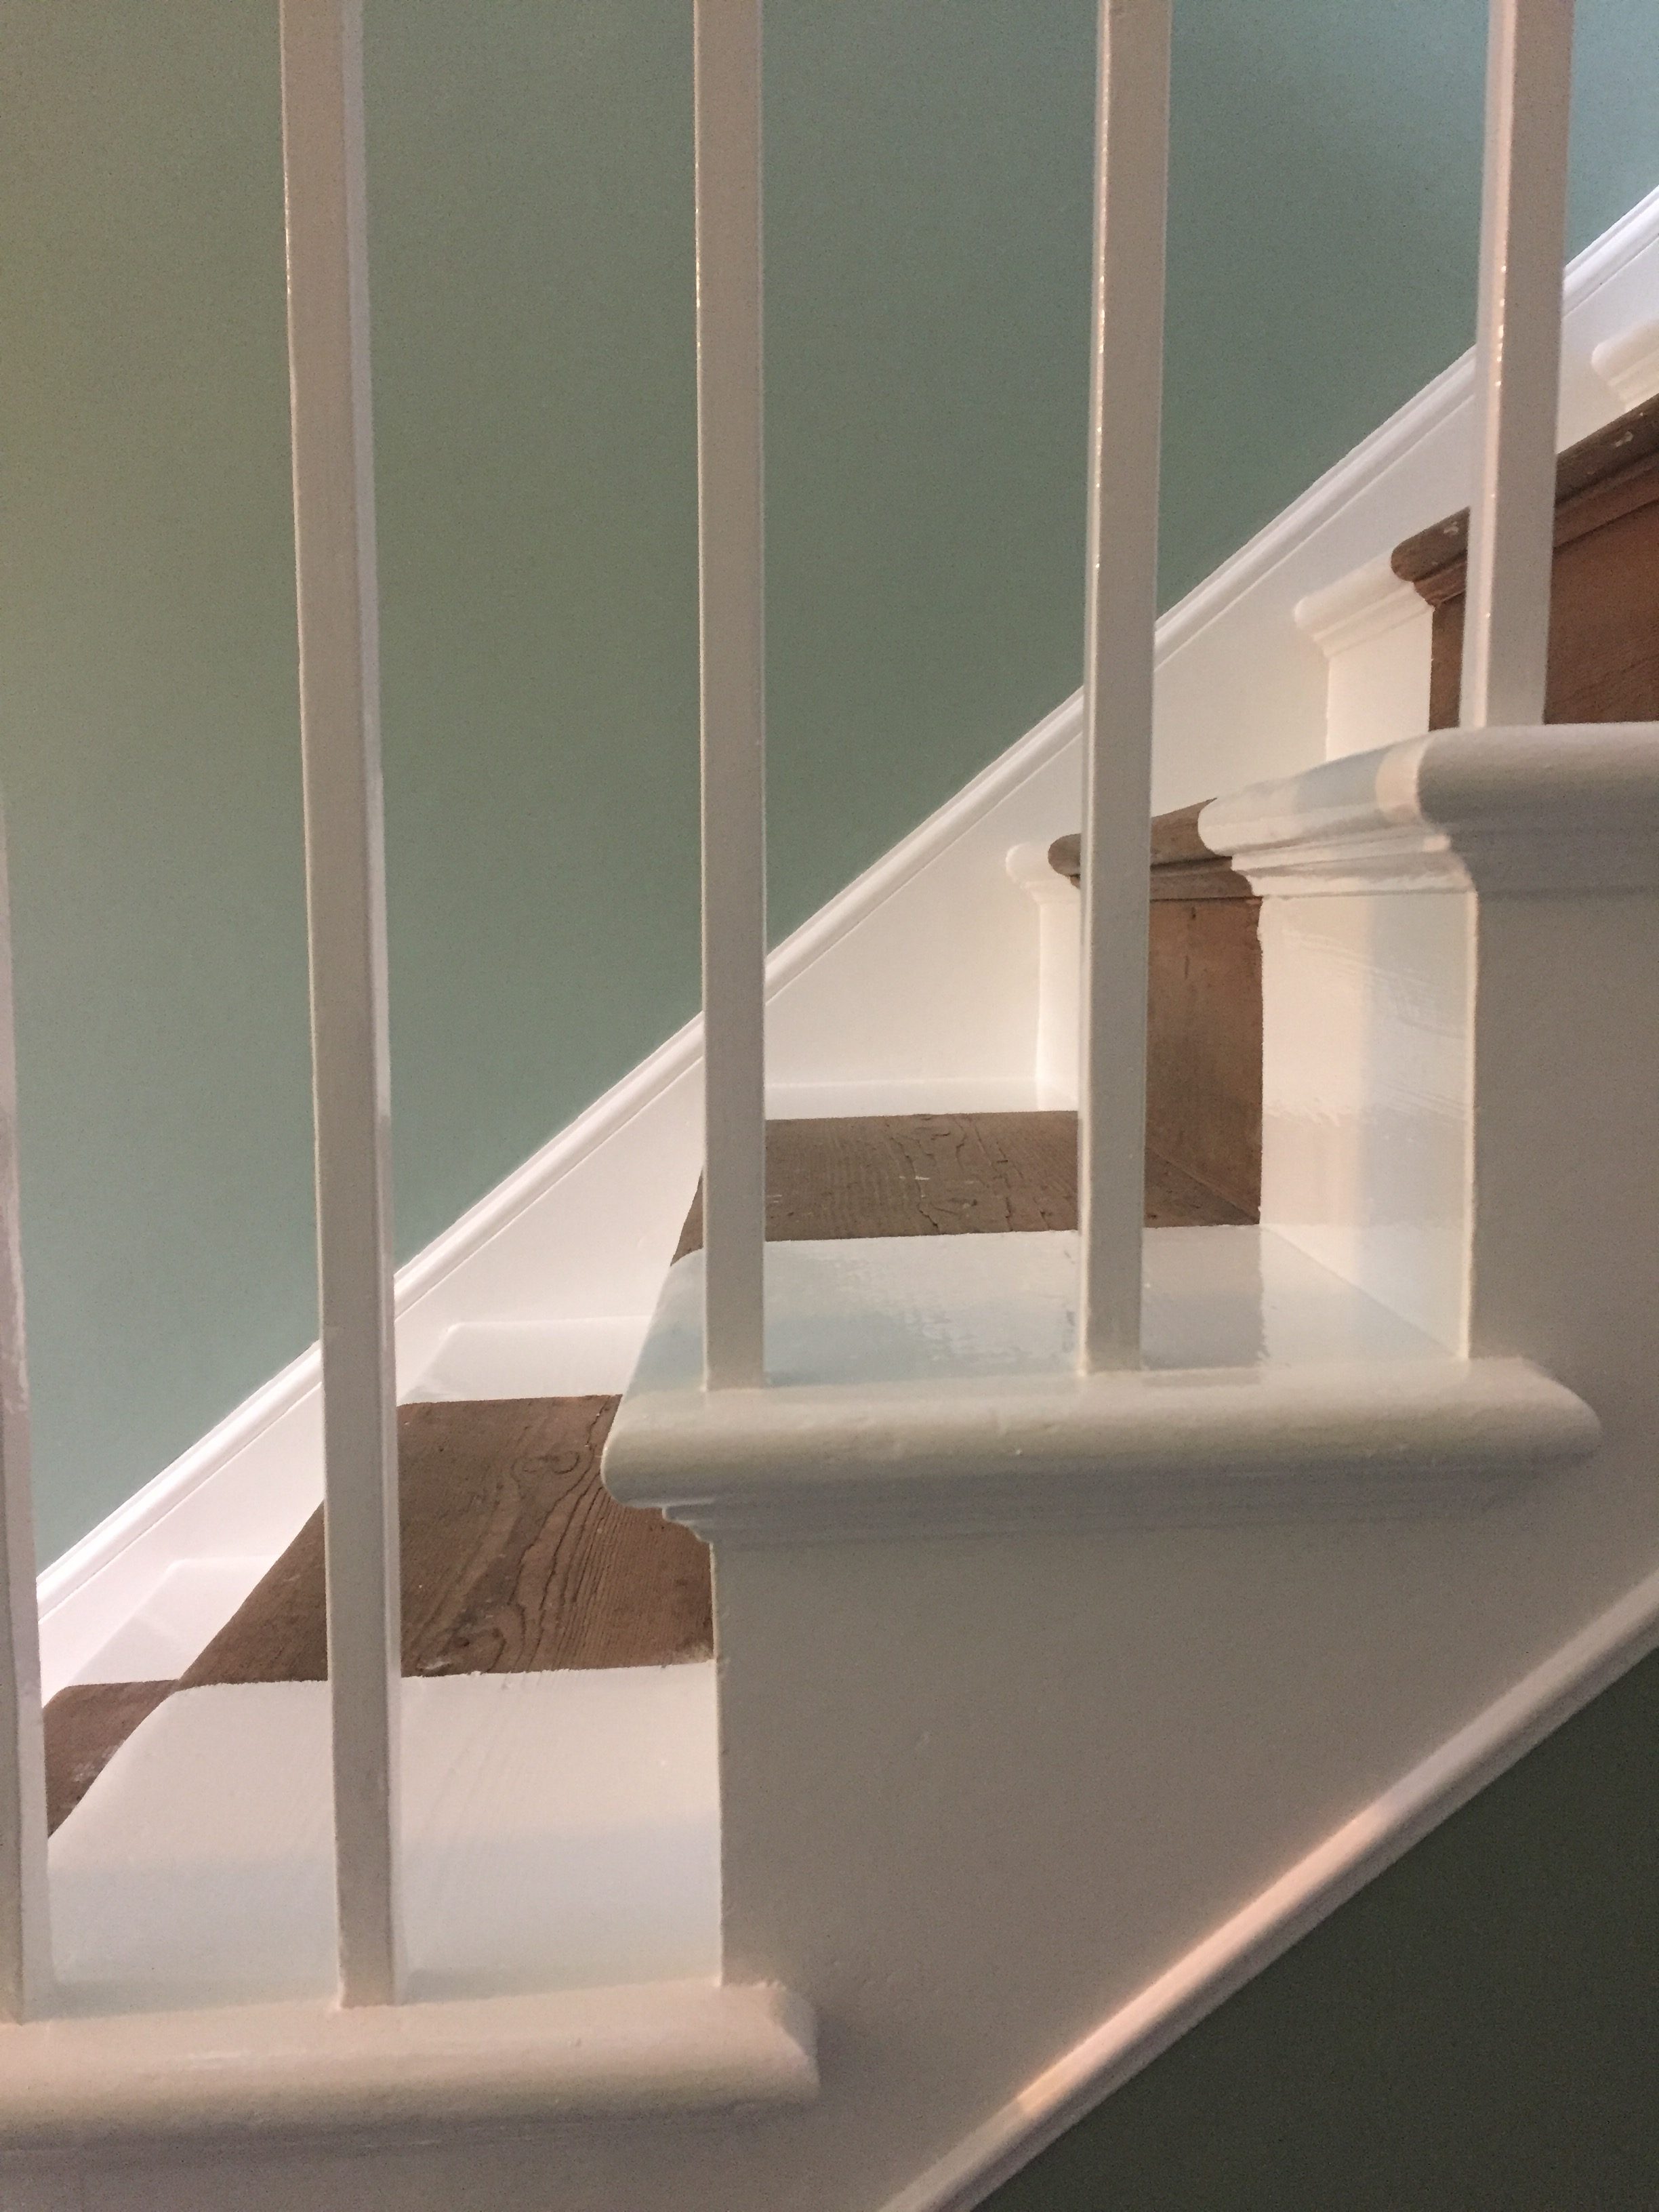
The final week week is spent adding the finishing touches and glossing up, the woodwork was finished in Crown Trade White full gloss which gives a traditional hard wearing high gloss finish. On completion the Hallway was restored to its former glory while retaining its original character and features.
For an excellent article outlining everything you need to know about different types of paint, their purpose , application and effect I recommend checking out Happy DIY Home.
Google Reviews
Request a Quote
Please fill in our contact form and I will get back to you as soon as possible

